Philips MCD183 - Manuals
Philips MCD183 Sound System – Manual in PDF format online.
Manuals:
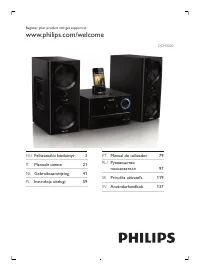
Manual Philips MCD183


Summary
3 5 Play 18 Play a disc 18 Use the disc menu 18 Select an audio language 18 Select a subtitle language 18 Play from USB 18 Play DivX video 19 Play MP3/WMA/picture fi les 19 Play control 19 Select repeat/shuffl e play options 19 Repeat A-B (DVD/VCD/CD/MP3/ WMA) 20 Search forward/backward 20 Search by t...
5 g Do not block any ventilation openings. Install in accordance with the manufacturer’s instructions. h Do not install near any heat sources such as radiators, heat registers, stoves, or other apparatus (including amplifi ers) that produce heat. i Protect the power cord from being walked on or pinch...
6 Hearing safety Listen at a moderate volume. Using headphones at a high volume can • impair your hearing. This product can produce sounds in decibel ranges that may cause hearing loss for a normal person, even for exposure less than a minute. The higher decibel ranges are offered for those that may...
Philips Sound Systems Manuals
-
 Philips BTB2570
User Manual
Philips BTB2570
User Manual
-
 Philips BTM177
Manual
Philips BTM177
Manual
-
 Philips BTM2310/12
User Manual
Philips BTM2310/12
User Manual
-
Philips BTM2310/12
Quick Guide
-
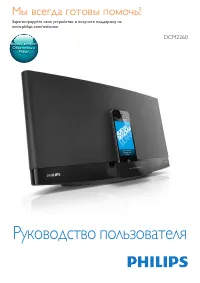 Philips DCM2260
Manual
Philips DCM2260
Manual
-
 Philips DCM278
Manual
Philips DCM278
Manual
-
 Philips DCM3020
Manual
Philips DCM3020
Manual
-
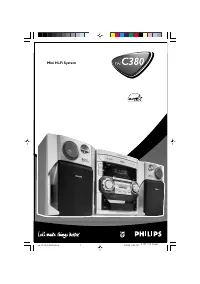 Philips FW-C380
Manual
Philips FW-C380
Manual
-
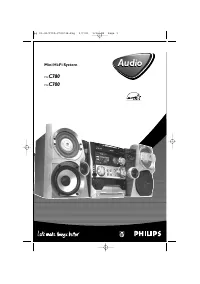 Philips FW-C700
Manual
Philips FW-C700
Manual
-
 Philips FW-C780
Manual
Philips FW-C780
Manual
-
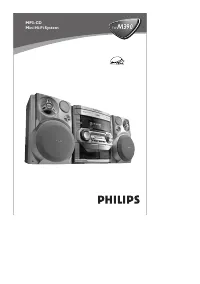 Philips FWM390
Manual
Philips FWM390
Manual
-
 Philips FWM582
Manual
Philips FWM582
Manual
-
 Philips FWM779
Manual
Philips FWM779
Manual
-
 Philips FWM799
Manual
Philips FWM799
Manual
-
 Philips FWP3200D
Manual
Philips FWP3200D
Manual
-
 Philips FW-P78
Manual
Philips FW-P78
Manual
-
 Philips FX10/12
User Manual
Philips FX10/12
User Manual
-
 Philips MC145
Manual
Philips MC145
Manual
-
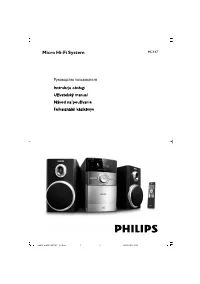 Philips MC147
Manual
Philips MC147
Manual
-
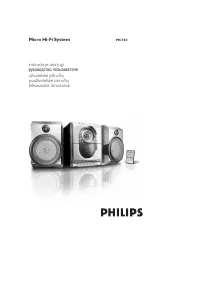 Philips MC150
Manual
Philips MC150
Manual