Philips HP6578/00 - Manuals
Philips HP6578/00 Electric Shaver – User Manual, Quick Guide in PDF format online.
Manuals:
User Manual Philips HP6578/00


Summary
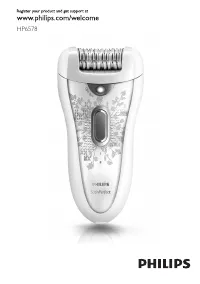
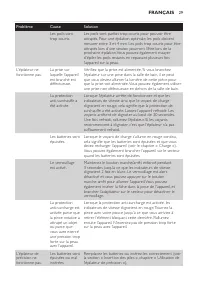
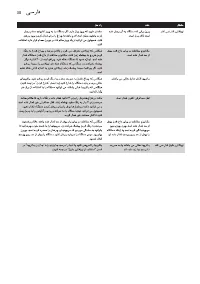
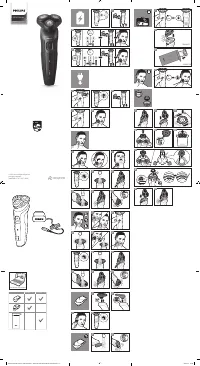
6 introduction Congratulations on your purchase and welcome to Philips! To fully benefit from the suppor t that Philips offers, register your product at www.philips.com/welcome. This Philips SatinPerfect epilator is produced in Europe according to the highest engineering standards and has been desig...
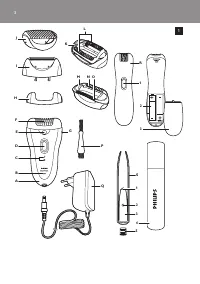
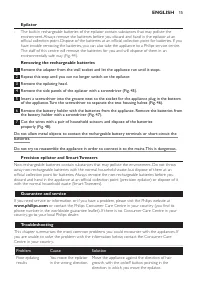
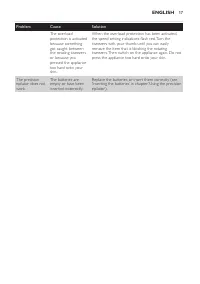
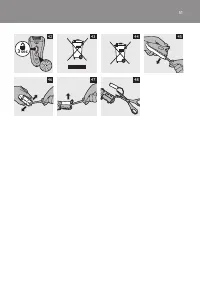
- Only use the Smar t Tweezers on alkaline button batteries type L763H or AG3 (dia. 7.8 x 3.4mm). Electromagnetic fields (EMF) These Philips appliances comply with all standards regarding electromagnetic fields (EMF). If handled properly and according to the instructions in this user manual, the app...
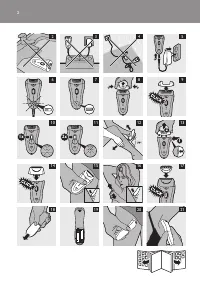
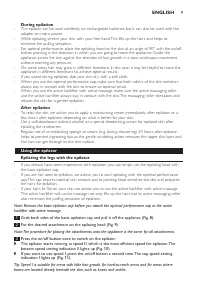
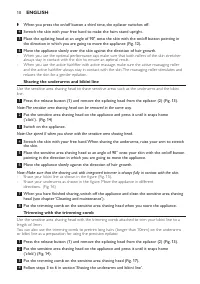
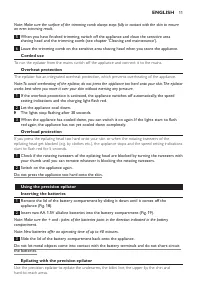
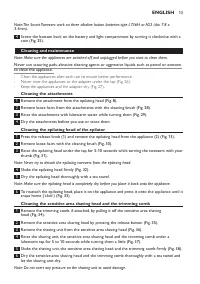
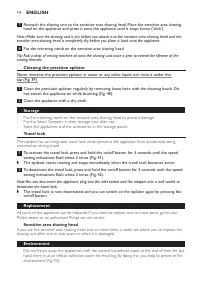
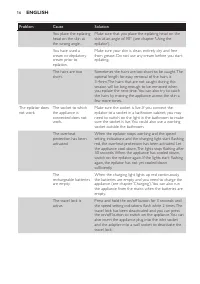
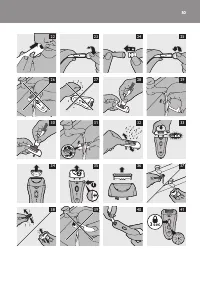
During epilation - The epilator can be used cordlessly on rechargeable batteries, but it can also be used with the adapter on mains power. - While epilating, stretch your skin with your free hand. This lifts up the hairs and helps to minimise the pulling sensation. - For optimal performance, place t...
Quick Guide Philips HP6578/00


Philips Electric Shavers Manuals
-
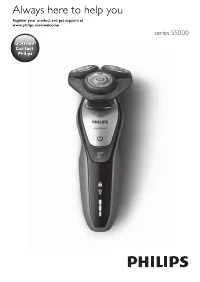
 Philips 5000 S5466/17
User Manual
Philips 5000 S5466/17
User Manual
-
 Philips 5000 S5630/12
User Manual
Philips 5000 S5630/12
User Manual
-
 Philips AT610
User Manual
Philips AT610
User Manual
-
Philips AT620
User Manual
-
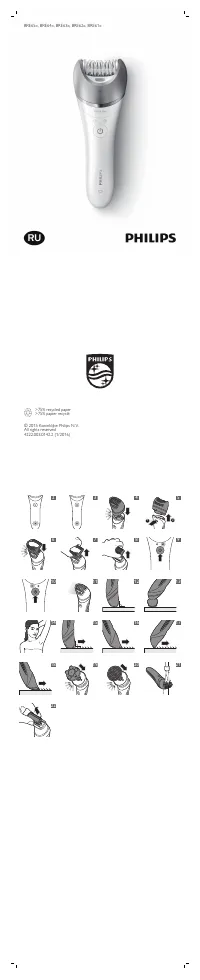 Philips BRE610/00
User Manual
Philips BRE610/00
User Manual
-
Philips BRE620/00
User Manual
-
Philips BRE630/00
User Manual
-
Philips BRE630/01
User Manual
-
Philips BRE630/10
User Manual
-
Philips BRE634/10
User Manual
-
Philips BRE640/00
User Manual
-
Philips BRE640/10
User Manual
-
Philips BRE644/00
User Manual
-
Philips BRE644/10
User Manual
-
Philips BRE650/00
User Manual
-
Philips BRE650/10
User Manual
-
Philips BRE651/00
User Manual
-
 Philips BRI862/00
User Manual
Philips BRI862/00
User Manual
-
Philips BRI863/00
User Manual
-
Philips BRI864/00
User Manual