Philips HP6576/00 - Manuals
Philips HP6576/00 Electric Shaver – User Manual, Quick Guide in PDF format online.
Manuals:
User Manual Philips HP6576/00


Summary
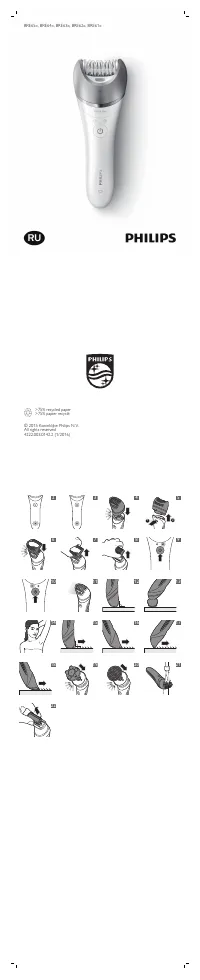
6 introduction Congratulations on your purchase and welcome to Philips! To fully benefit from the suppor t that Philips offers, register your product at www.philips.com/welcome. This Philips SatinPerfect epilator is produced in Europe according to the highest engineering standards and has been desig...
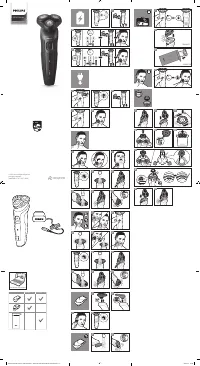
Charging Charging the epilator Charging the epilator takes approximately 1 hour. When the epilator is fully charged, it has a cordless operating time of up to 40 minutes. 1 Switch off the appliance before you charge it. 2 Insert the appliance plug into the inlet socket and put the adapter in the wal...
appliance across the skin against the direction of hair growth in a slow, continuous movement without exer ting any pressure. - On some areas, hair may grow in different directions. In this case, it may be helpful to move the appliance in different directions to achieve optimal results. - If you swe...
Quick Guide Philips HP6576/00

Philips Electric Shavers Manuals
-
 Philips 5000 S5466/17
User Manual
Philips 5000 S5466/17
User Manual
-
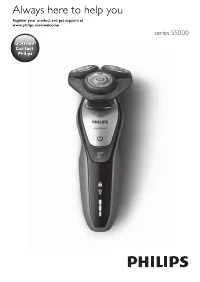 Philips 5000 S5630/12
User Manual
Philips 5000 S5630/12
User Manual
-
 Philips AT610
User Manual
Philips AT610
User Manual
-
Philips AT620
User Manual
-
 Philips BRE610/00
User Manual
Philips BRE610/00
User Manual
-
Philips BRE620/00
User Manual
-
Philips BRE630/00
User Manual
-
Philips BRE630/01
User Manual
-
Philips BRE630/10
User Manual
-
Philips BRE634/10
User Manual
-
Philips BRE640/00
User Manual
-
Philips BRE640/10
User Manual
-
Philips BRE644/00
User Manual
-
Philips BRE644/10
User Manual
-
Philips BRE650/00
User Manual
-
Philips BRE650/10
User Manual
-
Philips BRE651/00
User Manual
-
 Philips BRI862/00
User Manual
Philips BRI862/00
User Manual
-
Philips BRI863/00
User Manual
-
Philips BRI864/00
User Manual