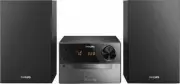
Philips DCD322 - Manuals
Philips DCD322 Sound System – Manual in PDF format online.
Manuals:
Manual Philips DCD322


Summary
Norge Typeskilt finnes på apparatens underside. Observer: Nettbryteren er sekundert innkoplet . Den innebygde netdelen er derfor ikke frakoplet nettet så lenge apparatet er tilsluttet nettkontakten. For å redusere faren for brann eller elektrisk støt , skal apparatet ikke utsettes for regn eller fukt...
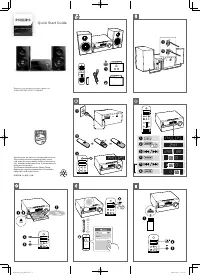
1 English EN 6 Play iPhone/iPod 18 Compatible iPod/iPhone 18 Load the iPhone/iPod 18 Listen to the iPhone/iPod 19 Charge the iPhone/iPod 19 Remove the iPhone/iPod 19 7 Listen to radio 19 Tune to a radio station 19 Program radio stations automatically 19 Program radio stations manually 20 Tune to a p...
2 or other apparatus (including amplifiers) that produce heat . i Protect the power cord from being walked on or pinched, particularly at plugs, convenience receptacles, and the point where they exit from the apparatus. j Only use attachments/accessories specified by the manufacturer. k Use only with ...
Philips Sound Systems Manuals
-
 Philips BTB2570
User Manual
Philips BTB2570
User Manual
-
 Philips BTM177
Manual
Philips BTM177
Manual
-
 Philips BTM2310/12
User Manual
Philips BTM2310/12
User Manual
-
Philips BTM2310/12
Quick Guide
-
 Philips DCM2260
Manual
Philips DCM2260
Manual
-
 Philips DCM278
Manual
Philips DCM278
Manual
-
 Philips DCM3020
Manual
Philips DCM3020
Manual
-
 Philips FW-C380
Manual
Philips FW-C380
Manual
-
 Philips FW-C700
Manual
Philips FW-C700
Manual
-
 Philips FW-C780
Manual
Philips FW-C780
Manual
-
 Philips FWM390
Manual
Philips FWM390
Manual
-
 Philips FWM582
Manual
Philips FWM582
Manual
-
 Philips FWM779
Manual
Philips FWM779
Manual
-
 Philips FWM799
Manual
Philips FWM799
Manual
-
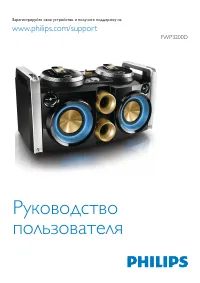 Philips FWP3200D
Manual
Philips FWP3200D
Manual
-
 Philips FW-P78
Manual
Philips FW-P78
Manual
-
 Philips FX10/12
User Manual
Philips FX10/12
User Manual
-
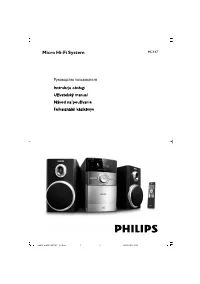
 Philips MC145
Manual
Philips MC145
Manual
-
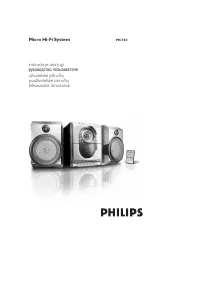
 Philips MC147
Manual
Philips MC147
Manual
-
 Philips MC150
Manual
Philips MC150
Manual