Philips 42PFL9903H_10 - Manuals
Philips 42PFL9903H_10 TV – User Manual, Quick Guide in PDF format online.
Manuals:
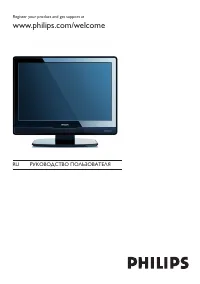
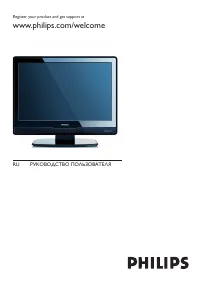
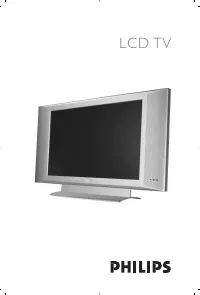
User Manual Philips 42PFL9903H_10


Summary
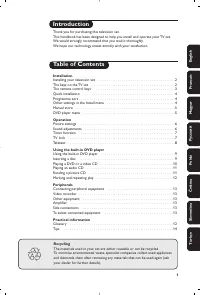
Table of contents 1 Important 3 1.1 Safety 3 1.2 Care of the screen 3 1.3 Recycling 3 2 Your TV 4 2.1 Television overview 4 2.2 How to enjoy HD TV 5 2.3 Product highlights 5 3 Getting started 5 3.1 Position the TV 5 3.2 Wall mounting - VESA 6 3.3 Remote control batteries 9 3.4 Antenna cable 9 3.5 Po...
1 Important Read this user manual before you star t to use thisproduct. Pay attention to this section and closely follow theinstr uctions. The warranty does not apply todamage caused by not taking into account theinstr uctions. 1.1 Safety • To avoid shor t circuit, do not expose the product to rain ...
2 Your TV This section gives you an over view of the controlsand functions of this TV. 2.1 Television overview Controls 1 LightGuide 2 Indicator light 3 Remote control sensor 4 Volume up and down 5 Menu 6 Program/Channel up and down 7 Power switch Connectors 1 Back connector s 2 Side connector s For...
Quick Guide Philips 42PFL9903H_10


Summary
How to enjoy HD TV ? Wie kann ich HDTV genießen ?Comment profiter de la HDTV ?Hoe kan ik van HDTV genieten ? DE FR NL Come si usa lo standard HDTV ? IT ¿ Cómo disfrutar de la HDTV ? ES • • • Deze TV kan High Definition TV uitzendingen weergeven.Om te genieten van HD TV moet u echter HD uitzendingenont...
What’s in the box Remote ControlFernbedienungTélécommandeAfstandsbedieningTelecomandoMando a distancia Was ist in der VerpackungContenu de l’emballageWat zit er in de doos User manualBedienungsanleitungMode d ’emploiGebruikershandleidingManuale di istruzioniManual del usuario Star t guideStar t guid...
Remove the yellow brake at the back ofthe stand to allow the TV to swivel. Entfernen Sie die gelbe Sperre auf derRückseite des Standfußes, damit sich dasFernsehgerät drehen lässt. Retirez le frein jaune à l'arrière du suppor tafin de permettre au téléviseur de pivoter. 1 Swivel stand Wall mounting Dr...
Philips TVs Manuals
-
 Philips 14PT6107_58
User Manual
Philips 14PT6107_58
User Manual
-
 Philips 15PF5121
User Manual
Philips 15PF5121
User Manual
-
 Philips 15PT6807_01
User Manual
Philips 15PT6807_01
User Manual
-
 Philips 19PFL3403_10
User Manual
Philips 19PFL3403_10
User Manual
-
Philips 19PFL3403_10
Quick Guide
-
 Philips 19PFL5403S_60
User Manual
Philips 19PFL5403S_60
User Manual
-
 Philips 19PFL5522D
User Manual
Philips 19PFL5522D
User Manual
-
 Philips 19PFL5602D
User Manual
Philips 19PFL5602D
User Manual
-
 Philips 20PF4110
User Manual
Philips 20PF4110
User Manual
-
 Philips 20PF4110S
User Manual
Philips 20PF4110S
User Manual
-
 Philips 20PF5121
User Manual
Philips 20PF5121
User Manual
-
 Philips 20PFL5122
User Manual
Philips 20PFL5122
User Manual
-
 Philips 20PFL5522D
User Manual
Philips 20PFL5522D
User Manual
-
 Philips 22PFL5403(D)(S)
User Manual
Philips 22PFL5403(D)(S)
User Manual
-
 Philips 23PF5320
Manual
Philips 23PF5320
Manual
-
 Philips 23PF5321
User Manual
Philips 23PF5321
User Manual
-
 Philips 23PFL5322
User Manual
Philips 23PFL5322
User Manual
-
 Philips 24HFL2839T
User Manual
Philips 24HFL2839T
User Manual
-
 Philips 24HFL2849T
User Manual
Philips 24HFL2849T
User Manual
-
 Philips 26PFL3312S_60
User Manual
Philips 26PFL3312S_60
User Manual