Philips 42PES0001D_10 - Manuals
Philips 42PES0001D_10 TV – User Manual, Quick Guide in PDF format online.
Manuals:
User Manual Philips 42PES0001D_10


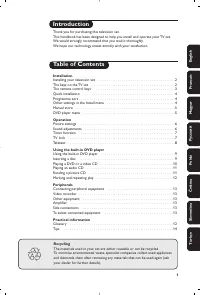
Summary
1 Important Read this user manual before you star t to use thisproduct. Pay attention to this section and closely follow theinstr uctions. The warranty does not apply todamage caused by not taking into account theinstr uctions. 1.1 Safety • To avoid shor t circuit, never expose the product to rain o...
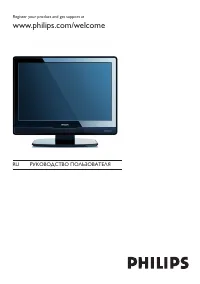
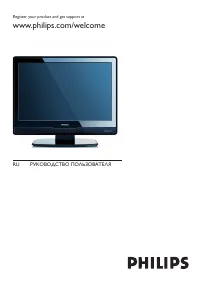
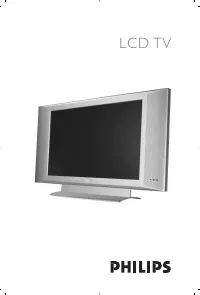
2 Your TV This section gives you an over view of the controlsand functions of this TV. 2.1 Television overview Controls 1 Remote control sensor 2 Power switch 3 Program/Channel up and down 4 Menu 5 Volume up and down Connectors 1 Back connector s 2 Left side connector s For more info see section 7 C...
ENGLISH 2.2 How to enjoy HD TV ? This TV can display High Definition TV programmes.But to enjoy HD TV you need to get programmesin HD fir st. The picture quality of this TV withoutHD programmes is just normal TV. You can receive HD programmes from ...- a Blu-ray Disc player, connected to HDMI, with ...
Quick Guide Philips 42PES0001D_10


Philips TVs Manuals
-
 Philips 14PT6107_58
User Manual
Philips 14PT6107_58
User Manual
-
 Philips 15PF5121
User Manual
Philips 15PF5121
User Manual
-
 Philips 15PT6807_01
User Manual
Philips 15PT6807_01
User Manual
-
 Philips 19PFL3403_10
User Manual
Philips 19PFL3403_10
User Manual
-
Philips 19PFL3403_10
Quick Guide
-
 Philips 19PFL5403S_60
User Manual
Philips 19PFL5403S_60
User Manual
-
 Philips 19PFL5522D
User Manual
Philips 19PFL5522D
User Manual
-
 Philips 19PFL5602D
User Manual
Philips 19PFL5602D
User Manual
-
 Philips 20PF4110
User Manual
Philips 20PF4110
User Manual
-
 Philips 20PF4110S
User Manual
Philips 20PF4110S
User Manual
-
 Philips 20PF5121
User Manual
Philips 20PF5121
User Manual
-
 Philips 20PFL5122
User Manual
Philips 20PFL5122
User Manual
-
 Philips 20PFL5522D
User Manual
Philips 20PFL5522D
User Manual
-
 Philips 22PFL5403(D)(S)
User Manual
Philips 22PFL5403(D)(S)
User Manual
-
 Philips 23PF5320
Manual
Philips 23PF5320
Manual
-
 Philips 23PF5321
User Manual
Philips 23PF5321
User Manual
-
 Philips 23PFL5322
User Manual
Philips 23PFL5322
User Manual
-
 Philips 24HFL2839T
User Manual
Philips 24HFL2839T
User Manual
-
 Philips 24HFL2849T
User Manual
Philips 24HFL2849T
User Manual
-
 Philips 26PFL3312S_60
User Manual
Philips 26PFL3312S_60
User Manual