Panasonic NA-F85A1WAU - Manuals
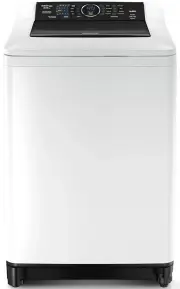
User Manual Panasonic NA-F85A1WAU


Summary
2 Safety Precautions May cause serious injury or death. Home hot water heater safety ● Under certain conditions, hydrogen gas may be produced in your hot water heater that has not been used for two weeks or more. Hydrogen gas can be explosive under these circumstances. To prevent the possibility of ...
Safety Precautions Part Names 3 Part Names May cause injury or property damage. Do not wash, rinse, or spin waterproof sheets or clothes. (To prevent injury, damage to the main unit, walls, fl oor or laundry, or water leakage if the appliance falls over or oscillates extremely while spinning) ● Rain...
4 Program selection (P. 5) Operation Panel Power Off/On Air Dry (P. 9) Child Lock lamp (P. 10) Change water amount During the wash process, press “Water Level” to change the water amount. ● Some water amounts cannot be selected depending on the program. ● When the remaining time is displayed, press ...
Panasonic Washing Machines Manuals
-
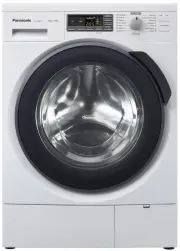
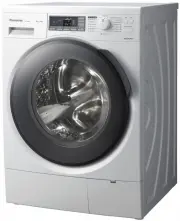
 Panasonic NA-120VG6WAU
User Manual
Panasonic NA-120VG6WAU
User Manual
-
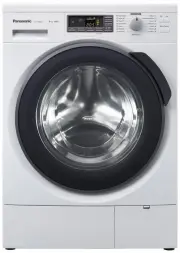
 Panasonic NA-140VG4WAU
User Manual
Panasonic NA-140VG4WAU
User Manual
-
 Panasonic NA-140VS4WAU
User Manual
Panasonic NA-140VS4WAU
User Manual
-
 Panasonic NA-140VX3WAU
User Manual
Panasonic NA-140VX3WAU
User Manual
-
 Panasonic NA-148VG3WAU
User Manual
Panasonic NA-148VG3WAU
User Manual
-
 Panasonic NA-148VG4WAU
User Manual
Panasonic NA-148VG4WAU
User Manual
-
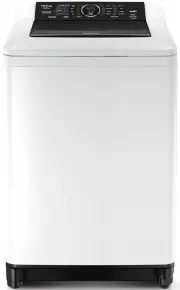 Panasonic NA-F95A1WAU
User Manual
Panasonic NA-F95A1WAU
User Manual
-
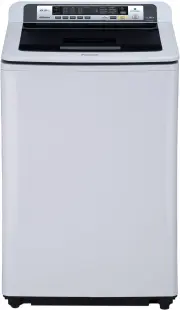 Panasonic NA-FS85G3WAU
User Manual
Panasonic NA-FS85G3WAU
User Manual
-
 Panasonic NA-FS95G3WAU
User Manual
Panasonic NA-FS95G3WAU
User Manual