Omega OO652XR - Manuals
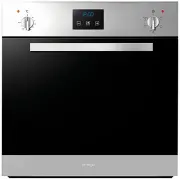
User Manual Omega OO652XR


Summary
3 DEAR CUSTOMER, We thank you and congratulate you on your choice. This new carefully designed product, manufactured with the highest quality materials, has been carefully tested to satisfy all your cooking demands. We would therefore request you to read and follow these easy instructions, which wil...
4 SAFETY INSTRUCTIONS Important - When you receive the appliance, unpack it or have it unpacked immediately. Give it an overall inspection. Make note of any concerns or reservations on the delivery slip and make sure to keep a copy of this form. Keep this user guide with your appliance. If the appli...
5 SAFETY INSTRUCTIONS Cont. Maintenance and cleaning - Do not use a steam cleaner. - For any cleaning operation inside the oven cavity, the oven must be switched off. - Before unclipping the glass, allow the appliance to cool. - Before removing the back, ensure that the appliance is powered down. Af...
Omega Ovens Manuals
-
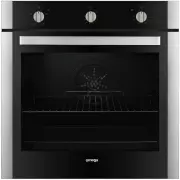 Omega OBO674X
User Manual
Omega OBO674X
User Manual
-
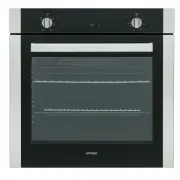 Omega OBO676X
User Manual
Omega OBO676X
User Manual
-
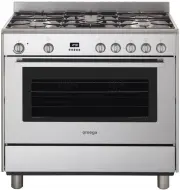 Omega OF901XZ
User Manual
Omega OF901XZ
User Manual
-
 Omega OF914FX
User Manual
Omega OF914FX
User Manual
-
 Omega OF916FX
User Manual
Omega OF916FX
User Manual
-
 Omega OO62PX
User Manual
Omega OO62PX
User Manual
-
 Omega OO651XR
User Manual
Omega OO651XR
User Manual
-
 Omega OO653X
User Manual
Omega OO653X
User Manual
-
 Omega OO654X
User Manual
Omega OO654X
User Manual
-
 Omega OO656X
User Manual
Omega OO656X
User Manual
-
 Omega OO65SXR
User Manual
Omega OO65SXR
User Manual
-
 Omega OO686X
User Manual
Omega OO686X
User Manual
-
 Omega OO687X
User Manual
Omega OO687X
User Manual
-
 Omega OO6AX
User Manual
Omega OO6AX
User Manual
-
 Omega OO757X
User Manual
Omega OO757X
User Manual
-
 Omega OO885XR
User Manual
Omega OO885XR
User Manual
-
 Omega OO986X
User Manual
Omega OO986X
User Manual
-
 Omega OS450X
User Manual
Omega OS450X
User Manual