Omega OI63Z - Manuals
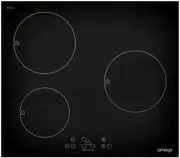
User Manual Omega OI63Z


Summary
2 CONGRATULATIONS Welcome to the Omega Community and thank you for choosing one of our many fantastic cooking appliances. We are confident that you will now be able to meet your cooking needs. Before you use the cooktop we strongly recommend that you read though the whole user manual which provides ...
3 IMPORTANT SAFETY INSTRUCTIONS IMPORTANT: Read the assembly instruction section and safety precautions of this booklet carefully before removing the contents of this carton. 1. This appliance is not intended for use by persons (including children) with reduced physical, sensory or mental capabiliti...
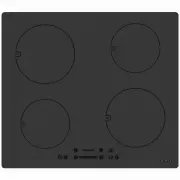
4 APPLIANCE DETAILS ELECTRICAL DETAILS: COOKTOPS: Rated Voltage: Single phase 220-240Vac 50Hz, 3-phase 380-415Vac 50Hz 6200W COOKTOP – Directly wired to mains supply This information can be found on the rating plate (identification plate) affixed to the underside of the appliance. Type Total Power I...
Omega Hobs Manuals
-
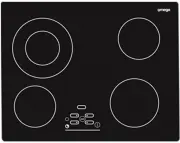 Omega OC65TA
User Manual
Omega OC65TA
User Manual
-
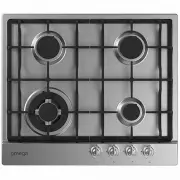 Omega OCG604XCOM
User Manual
Omega OCG604XCOM
User Manual
-
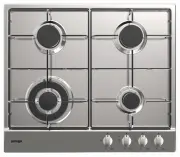 Omega OCG60X
User Manual
Omega OCG60X
User Manual
-
 Omega OCG61X
User Manual
Omega OCG61X
User Manual
-
 Omega OCG61XA
User Manual
Omega OCG61XA
User Manual
-
 Omega OCG62X
User Manual
Omega OCG62X
User Manual
-
 Omega OCG63FFX
User Manual
Omega OCG63FFX
User Manual
-
 Omega OCG63FX
User Manual
Omega OCG63FX
User Manual
-
 Omega OCG64FFX
User Manual
Omega OCG64FFX
User Manual
-
 Omega OCG64X
User Manual
Omega OCG64X
User Manual
-
 Omega OCG755FX
User Manual
Omega OCG755FX
User Manual
-
 Omega OCG75FX
User Manual
Omega OCG75FX
User Manual
-
 Omega OCG75FXB
User Manual
Omega OCG75FXB
User Manual
-
 Omega OCG75XB
User Manual
Omega OCG75XB
User Manual
-
 Omega OCG90FXB
User Manual
Omega OCG90FXB
User Manual
-
 Omega OCG90X
User Manual
Omega OCG90X
User Manual
-
 Omega OCG90XB
User Manual
Omega OCG90XB
User Manual
-
 Omega OCG95FFX
User Manual
Omega OCG95FFX
User Manual
-
 Omega OCI60MZ
User Manual
Omega OCI60MZ
User Manual
-
 Omega OCI64B
User Manual
Omega OCI64B
User Manual