Omega OCI60MZ - Manuals
User Manual Omega OCI60MZ


Summary
Thank you for introducing our family to yours At Omega, we understand that cooking, cleaning and washing may not be your favourite things in the world. That's why we created a range of no-nonsense, reliable products that always get the job done for you. With the features you need and nothing you don...
TABLE OF CONTENTS SECTION PAGE NO. Important Safety Instructions .... ………… 1-2 Cooktop Details ... .. ....................................2 Operating Instructions .......................... 5-10 Cleaning …………………………………......... 11 Electrical Connections .............................1 2 Installation ....
21. All cabinetry and materials used in the installation must be able to withstand a minimum temperature of 100 °C above ambient temperature whilst in use. Certain types of vinyl or laminate kitchen furniture are particularly prone to heat damage or discolouration at temperatures below the guideline...
Omega Hobs Manuals
-
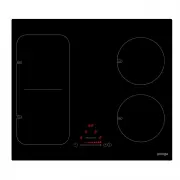
 Omega OC65TA
User Manual
Omega OC65TA
User Manual
-
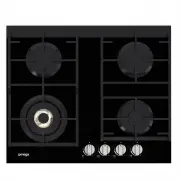
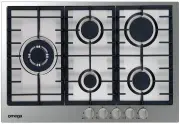
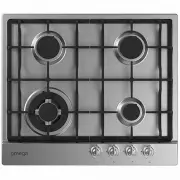 Omega OCG604XCOM
User Manual
Omega OCG604XCOM
User Manual
-
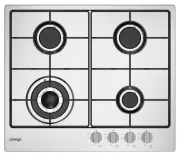
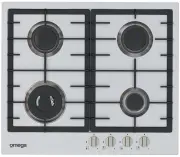
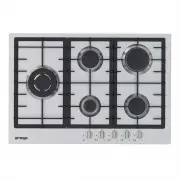
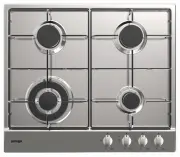 Omega OCG60X
User Manual
Omega OCG60X
User Manual
-
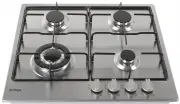
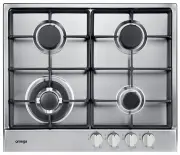
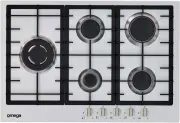
 Omega OCG61X
User Manual
Omega OCG61X
User Manual
-
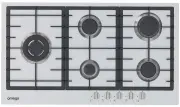
 Omega OCG61XA
User Manual
Omega OCG61XA
User Manual
-
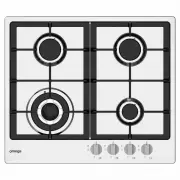 Omega OCG62X
User Manual
Omega OCG62X
User Manual
-
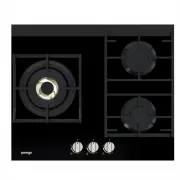 Omega OCG63FFX
User Manual
Omega OCG63FFX
User Manual
-
 Omega OCG63FX
User Manual
Omega OCG63FX
User Manual
-
 Omega OCG64FFX
User Manual
Omega OCG64FFX
User Manual
-
 Omega OCG64X
User Manual
Omega OCG64X
User Manual
-
 Omega OCG755FX
User Manual
Omega OCG755FX
User Manual
-
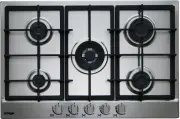
 Omega OCG75FX
User Manual
Omega OCG75FX
User Manual
-
 Omega OCG75FXB
User Manual
Omega OCG75FXB
User Manual
-
 Omega OCG75XB
User Manual
Omega OCG75XB
User Manual
-
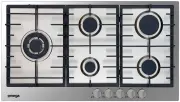
 Omega OCG90FXB
User Manual
Omega OCG90FXB
User Manual
-
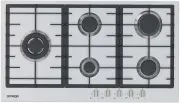
 Omega OCG90X
User Manual
Omega OCG90X
User Manual
-
 Omega OCG90XB
User Manual
Omega OCG90XB
User Manual
-
 Omega OCG95FFX
User Manual
Omega OCG95FFX
User Manual
-
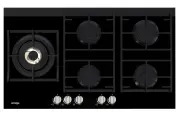
 Omega OCI64B
User Manual
Omega OCI64B
User Manual
-
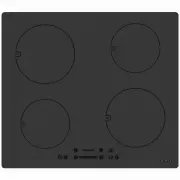
 Omega OCI64PP
User Manual
Omega OCI64PP
User Manual