Omega OBO674X - Manuals
User Manual Omega OBO674X


Summary
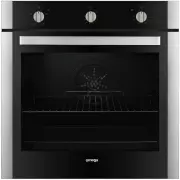
3 INSTALLATION, OPERATION AND MAINTENANCE INSTRUCTIONS FOR OMEGA BUILT‐IN ELECTRIC OVEN RANGE OBO674X BUILT‐IN ELECTRIC OVEN CONGRATULATIONS Thank you for choosing one of our many fantastic built in ovens. We are confident that you will now be able to meet your cooking needs. Befo...
4 IMPORTANT SAFETY INSTRUCTIONS IMPORTANT: Read the assembly instruction section and safety precautions of this booklet carefully before removing the contents of this carton. 1. This appliance is not intended for use by persons (including children) with reduced physical, sensory or mental...
5 APPLIANCE DETAILS ELECTRICAL DETAILS: OVENS: OBO674X Rated Voltage: 230 Vac 50 Hz Max Rated Inputs: 2000W Supply Connection: OVENS ‐ 10 A plug This information can be found on the rating plate (data label) affixed to the inside of the door jamb. SI...
Omega Ovens Manuals
-
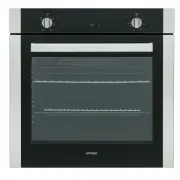 Omega OBO676X
User Manual
Omega OBO676X
User Manual
-
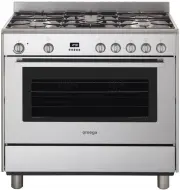 Omega OF901XZ
User Manual
Omega OF901XZ
User Manual
-
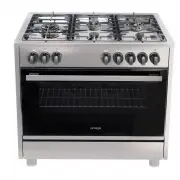 Omega OF914FX
User Manual
Omega OF914FX
User Manual
-
 Omega OF916FX
User Manual
Omega OF916FX
User Manual
-
 Omega OO62PX
User Manual
Omega OO62PX
User Manual
-
 Omega OO651XR
User Manual
Omega OO651XR
User Manual
-
 Omega OO652XR
User Manual
Omega OO652XR
User Manual
-
 Omega OO653X
User Manual
Omega OO653X
User Manual
-
 Omega OO654X
User Manual
Omega OO654X
User Manual
-
 Omega OO656X
User Manual
Omega OO656X
User Manual
-
 Omega OO65SXR
User Manual
Omega OO65SXR
User Manual
-
 Omega OO686X
User Manual
Omega OO686X
User Manual
-
 Omega OO687X
User Manual
Omega OO687X
User Manual
-
 Omega OO6AX
User Manual
Omega OO6AX
User Manual
-
 Omega OO757X
User Manual
Omega OO757X
User Manual
-
 Omega OO885XR
User Manual
Omega OO885XR
User Manual
-
 Omega OO986X
User Manual
Omega OO986X
User Manual
-
 Omega OS450X
User Manual
Omega OS450X
User Manual