Napoleon LEX730RSBIP - Manuals
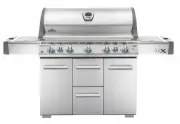
User Manual Napoleon LEX730RSBIP


Summary
2 www.napoleongrills.com N415-0274-AU JAN 24.18 Aluminum castings / stainless steel base ........................................... 15 years Stainless steel lid ................................................................................ 15 years Porcelain enamel lid ..............................
3 www.napoleongrills.com N415-0274-AU JAN 24.18 WARNING! Failure to follow these instructions could result in property damage, personal injury or death. Read and follow all warnings and instructions in this manual prior to operating grill. Safe Operating Practices • This gas grill must be assembled ...
4 www.napoleongrills.com N415-0274-AU JAN 24.18 Location Open both ends Open side at least 25% of total wall area 30% or mor e in t ot al of the remaining w all ar ea is open and unr es trict ed Open side at least 25% of total wall area 30% or mor e in t ot al of the remaining w all ar ea is open an...
Napoleon BBQs Manuals
-
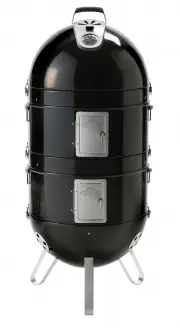 Napoleon AS300K
User Manual
Napoleon AS300K
User Manual
-
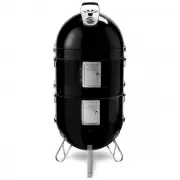 Napoleon AS300K-2
User Manual
Napoleon AS300K-2
User Manual
-
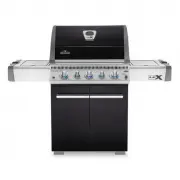 Napoleon LEX485RSBIPK
User Manual
Napoleon LEX485RSBIPK
User Manual
-
 Napoleon LEX605RSBIPK
User Manual
Napoleon LEX605RSBIPK
User Manual
-
 Napoleon NK22K-LEG-2
User Manual
Napoleon NK22K-LEG-2
User Manual
-
 Napoleon PRO22K-CART-2
User Manual
Napoleon PRO22K-CART-2
User Manual
-
 Napoleon PRO22K-LEG-2
User Manual
Napoleon PRO22K-LEG-2
User Manual
-
 Napoleon PRO605CSS
User Manual
Napoleon PRO605CSS
User Manual
-
 Napoleon R365PK-AU
User Manual
Napoleon R365PK-AU
User Manual
-
 Napoleon R525PK-AU
User Manual
Napoleon R525PK-AU
User Manual
-
 Napoleon RSE425RSBPSS-1-AU
User Manual
Napoleon RSE425RSBPSS-1-AU
User Manual
-
 Napoleon RSE525RSBPSS-1-AU
User Manual
Napoleon RSE525RSBPSS-1-AU
User Manual