Maytag MVWP576KW - Manuals
Maytag MVWP576KW Washing Machine – User Manual, Manual in PDF format online.
Manuals:
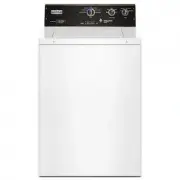
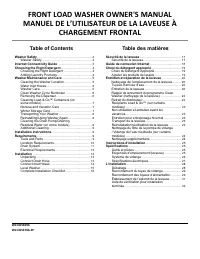
User Manual Maytag MVWP576KW


Manual Maytag MVWP576KW


Summary
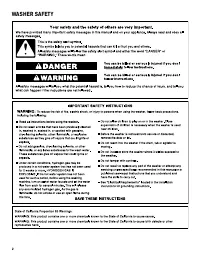
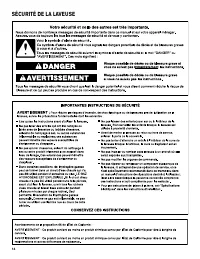
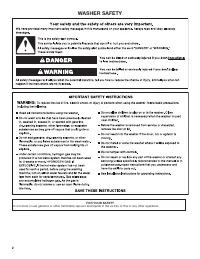
2 WASHER SAFETY FOR YOUR SAFETY Do not store or use gasoline or other flammable vapours and liquids in the vicinity of this or any other appliance.
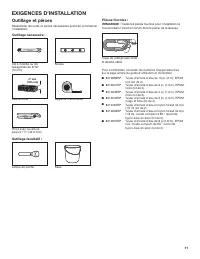
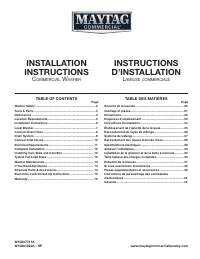
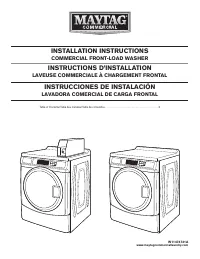
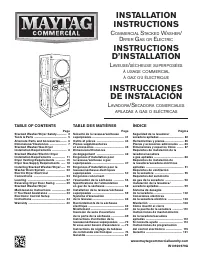
3 Optional tools: Parts supplied: NOTE: All parts supplied for installation are in cardboard insert in the top of the washer. LOCATION REQUIREMENTS Select proper location for your washer to improve performance and minimize noise and possible “washer walk.” Install your washer in a basement, laundry ...
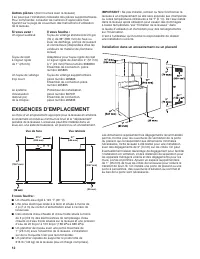
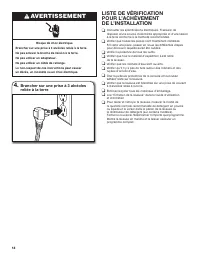
4 You will need: n A water heater set to 120°F (49°C). n A grounded electrical outlet located within 4 ft (1.2 m) of power cord on back of washer. n Hot and cold water faucets located within 3 ft (0.9 m) of hot and cold water fill valves on washer, and water pressure of 20 psi–100 psi (138 kPa–690 k...
Maytag Washing Machines Manuals
-
 Maytag MAT20PDAWW
User Manual
Maytag MAT20PDAWW
User Manual
-
 Maytag MHN33PDCWW
User Manual
Maytag MHN33PDCWW
User Manual
-
 Maytag MHW5630HC
User Manual
Maytag MHW5630HC
User Manual
-
Maytag MHW5630HC
Manual
-
 Maytag MHW5630HW
User Manual
Maytag MHW5630HW
User Manual
-
Maytag MHW5630HW
Manual
-
 Maytag MHW5630MBK
User Manual
Maytag MHW5630MBK
User Manual
-
Maytag MHW5630MBK
Manual
-
Maytag MHW5630MBK
Troubleshooting Guide
-
 Maytag MHW6630HC
User Manual
Maytag MHW6630HC
User Manual
-
Maytag MHW6630HC
Manual
-
 Maytag MHW6630HW
User Manual
Maytag MHW6630HW
User Manual
-
Maytag MHW6630HW
Manual
-
 Maytag MHW6630MBK
User Manual
Maytag MHW6630MBK
User Manual
-
Maytag MHW6630MBK
Manual
-
 Maytag MHW8630HC
User Manual
Maytag MHW8630HC
User Manual
-
Maytag MHW8630HW
User Manual
-
 Maytag MLE22PDAYW
User Manual
Maytag MLE22PDAYW
User Manual
-
 Maytag MVW4505MW
User Manual
Maytag MVW4505MW
User Manual
-
Maytag MVW4505MW
Manual