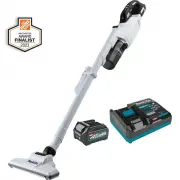
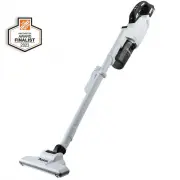
Makita XLC01ZB - Manuals

User Manual Makita XLC01ZB


Summary
2 ENGLISH ENGLISH (Original instructions) SPECIFICATIONS Model XLC01 Capacity with a dust bag 0.50 L with a paper pack 0.33 L Overall length 1,004 mm (39-1/2") Rated voltage D.C. 18 V Standard battery cartridges BL1815N BL1820B BL1830 / BL1830B BL1840B BL1850B BL1860B Continuous use (Approx.) HI...
3 ENGLISH 12. Do not pick up anything that is burn- ing or smoking, such as cigarettes, matches, or hot ashes. 13. Do not use without dust bag and/or filters in place. 14. Do not charge the battery outdoors. 15. Prevent unintentional starting. Ensure the switch is in the off-po- sition before connec...
4 ENGLISH • Hard pieces with sharp edges, such as wood chips, metals, stones, glasses, nails, pins or razors • Powder to clot such as cement or toner • Conductive dust such as metal or carbon • Fine particle like concrete dust Such action may cause fire, injury and/or property damage. 3. Stop operat...
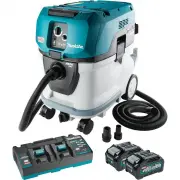
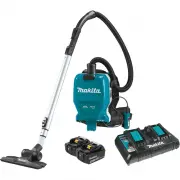
Makita Vacuums Manuals
-
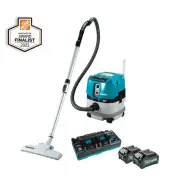 Makita GCV01PM
User Manual
Makita GCV01PM
User Manual
-
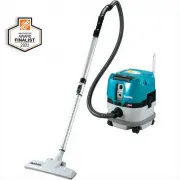 Makita GCV01Z
User Manual
Makita GCV01Z
User Manual
-
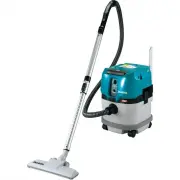 Makita GCV03Z
User Manual
Makita GCV03Z
User Manual
-
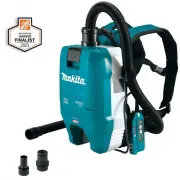
 Makita GCV05ZX
User Manual
Makita GCV05ZX
User Manual
-
 Makita GCV06Z
User Manual
Makita GCV06Z
User Manual
-
 Makita GCV07PMU
User Manual
Makita GCV07PMU
User Manual
-
 Makita GLC03R1
User Manual
Makita GLC03R1
User Manual
-
 Makita GLC03Z
User Manual
Makita GLC03Z
User Manual
-
 Makita LC09A1
User Manual
Makita LC09A1
User Manual
-
 Makita LC09Z
User Manual
Makita LC09Z
User Manual
-
 Makita XCV09PT
User Manual
Makita XCV09PT
User Manual
-
 Makita XCV10PTX
User Manual
Makita XCV10PTX
User Manual
-
 Makita XCV11Z
User Manual
Makita XCV11Z
User Manual
-
 Makita XCV17PG
User Manual
Makita XCV17PG
User Manual
-
 Makita XCV19PG
User Manual
Makita XCV19PG
User Manual
-
 Makita XCV19Z
User Manual
Makita XCV19Z
User Manual
-
 Makita XCV20Z
User Manual
Makita XCV20Z
User Manual
-
 Makita XCV23Z
User Manual
Makita XCV23Z
User Manual
-
 Makita XLC02R1B
User Manual
Makita XLC02R1B
User Manual
-
 Makita XLC02RB1W
User Manual
Makita XLC02RB1W
User Manual