Makita XFD131 - Manuals
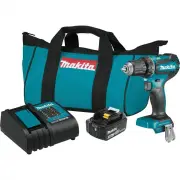
User Manual Makita XFD131


Summary
2 ENGLISH ENGLISH (Original instructions) SPECIFICATIONS Model: XFD13 Drilling capacities Steel 13 mm (1/2") Wood 38 mm (1-1/2") Fastening capacities Wood screw 6 mm x 75 mm (1/4" x 2-15/16") Machine screw M6 (1/4") No load speed (RPM) High (2) 0 - 1,900 /min Low (1) 0 - 500 /min...
4 ENGLISH Cordless driver drill safety warnings 1. Use auxiliary handle(s), if supplied with the tool. Loss of control can cause personal injury. 2. Hold power tool by insulated gripping sur- faces, when performing an operation where the cutting accessory may contact hidden wiring. Cutting accessory...
5 ENGLISH FUNCTIONAL DESCRIPTION CAUTION: Always be sure that the tool is switched off and the battery cartridge is removed before adjusting or checking function on the tool. Installing or removing battery cartridge CAUTION: Always switch off the tool before installing or removing of the battery car...
Makita Drills Manuals
-
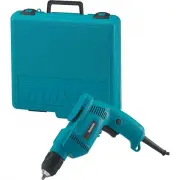
 Makita 6407
User Manual
Makita 6407
User Manual
-
Makita 6407
Manual
-
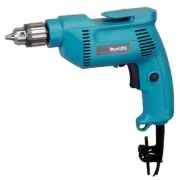
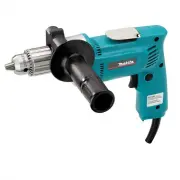
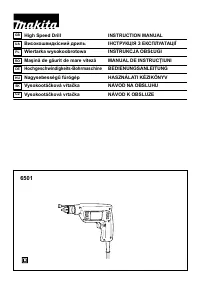 Makita 6501
User Manual
Makita 6501
User Manual
-
Makita 6501
Manual
-
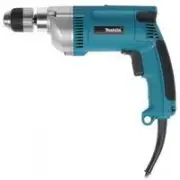
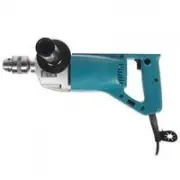 Makita 6300-4
User Manual
Makita 6300-4
User Manual
-
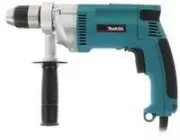
 Makita 6302H
User Manual
Makita 6302H
User Manual
-
Makita 6302H
Manual
-
 Makita 6408K
User Manual
Makita 6408K
User Manual
-
Makita 6408K
Manual
-
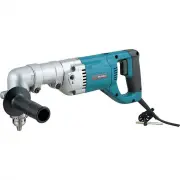 Makita DA4000LR
User Manual
Makita DA4000LR
User Manual
-
Makita DA4000LR
Manual
-
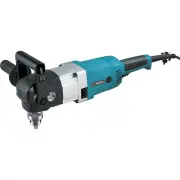 Makita DA4031
User Manual
Makita DA4031
User Manual
-
Makita DA4031
Manual
-
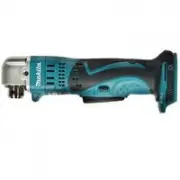 Makita DDA350Z
User Manual
Makita DDA350Z
User Manual
-
 Makita DP2010
User Manual
Makita DP2010
User Manual
-
 Makita DP3003
User Manual
Makita DP3003
User Manual
-
Makita DP3003
Manual
-
 Makita DP4000
User Manual
Makita DP4000
User Manual
-
Makita DP4000
Manual
-
 Makita DP4001
User Manual
Makita DP4001
User Manual