Makita XCV19PG - Manuals
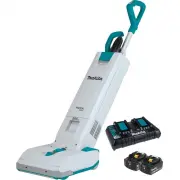
User Manual Makita XCV19PG


Summary
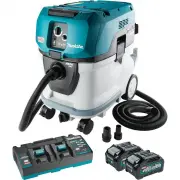
2 ENGLISH ENGLISH (Original instructions) SPECIFICATIONS Model: XCV19 Maximum air volume * 1.9 m 3 /min (67 cu.ft/min) Vacuum * 12 kPa Capacity 5 L (1.32 gal.) Dimensions (L x W x H) 326 mm x 318 mm x 1,146 mm (12-7/8″ x 12-1/2″ x 45-1/8″) Rated voltage D.C. 36 V Net weight 8.3 - 9.0 kg (18.3 - 19.8...
3 ENGLISH 7. Do not put any object into openings. Do not use with any opening blocked; keep free of dust, lint, hair, and any- thing that may reduce air flow. 8. Keep hair, loose clothing, fingers, and all parts of body away from openings and moving parts. 9. Turn off all controls before removing th...
4 ENGLISH 4. Use appliances only with specifi - cally designated battery packs. Use of any other battery packs may create a risk of injury and fire. 5. When battery pack is not in use, keep it away from other metal objects, like paper clips, coins, keys, nails, screws or other small metal objects, t...
Makita Vacuums Manuals
-
 Makita GCV01PM
User Manual
Makita GCV01PM
User Manual
-
 Makita GCV01Z
User Manual
Makita GCV01Z
User Manual
-
 Makita GCV03Z
User Manual
Makita GCV03Z
User Manual
-
 Makita GCV05ZX
User Manual
Makita GCV05ZX
User Manual
-
 Makita GCV06Z
User Manual
Makita GCV06Z
User Manual
-
 Makita GCV07PMU
User Manual
Makita GCV07PMU
User Manual
-
 Makita GLC03R1
User Manual
Makita GLC03R1
User Manual
-
 Makita GLC03Z
User Manual
Makita GLC03Z
User Manual
-
 Makita LC09A1
User Manual
Makita LC09A1
User Manual
-
 Makita LC09Z
User Manual
Makita LC09Z
User Manual
-
 Makita XCV09PT
User Manual
Makita XCV09PT
User Manual
-
 Makita XCV10PTX
User Manual
Makita XCV10PTX
User Manual
-
 Makita XCV11Z
User Manual
Makita XCV11Z
User Manual
-
 Makita XCV17PG
User Manual
Makita XCV17PG
User Manual
-
 Makita XCV19Z
User Manual
Makita XCV19Z
User Manual
-
 Makita XCV20Z
User Manual
Makita XCV20Z
User Manual
-
 Makita XCV23Z
User Manual
Makita XCV23Z
User Manual
-
 Makita XLC01ZB
User Manual
Makita XLC01ZB
User Manual
-
 Makita XLC02R1B
User Manual
Makita XLC02R1B
User Manual
-
 Makita XLC02RB1W
User Manual
Makita XLC02RB1W
User Manual