Makita GCV07PMU - Manuals
User Manual Makita GCV07PMU


Summary
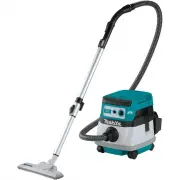
2 ENGLISH ENGLISH (Original instructions) SPECIFICATIONS Model: GCV07 Maximum air volume at the end of hose With BL4050F, ø28 mm (1-1/8") x 3.5 m (138") hose 2.0 m 3 /min (71 cu.ft/min) With BL4050F, ø38 mm (1-1/2") x 2.5 m (98-1/2") hose 3.7 m 3 /min (131 cu.ft/min) Maximum air volu...
4 ENGLISH Battery tool use and care 1. Prevent unintentional starting. Ensure the switch is in the off-po - sition before connecting to battery pack, picking up or carrying the appliance. Carrying the appliance with your finger on the switch or energiz - ing appliance that have the switch on invites...
5 ENGLISH 2. Do not disassemble or tamper with the battery cartridge. It may result in a fire, excessive heat, or explosion. 3. If operating time has become excessively shorter, stop operating immediately. It may result in a risk of overheating, possi- ble burns and even an explosion. 4. If electrol...
Makita Vacuums Manuals
-
 Makita GCV01PM
User Manual
Makita GCV01PM
User Manual
-
 Makita GCV01Z
User Manual
Makita GCV01Z
User Manual
-
 Makita GCV03Z
User Manual
Makita GCV03Z
User Manual
-
 Makita GCV05ZX
User Manual
Makita GCV05ZX
User Manual
-
 Makita GCV06Z
User Manual
Makita GCV06Z
User Manual
-
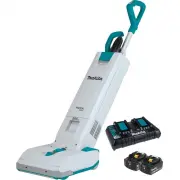
 Makita GLC03R1
User Manual
Makita GLC03R1
User Manual
-
 Makita GLC03Z
User Manual
Makita GLC03Z
User Manual
-
 Makita LC09A1
User Manual
Makita LC09A1
User Manual
-
 Makita LC09Z
User Manual
Makita LC09Z
User Manual
-
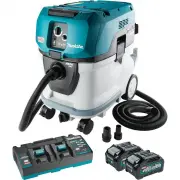
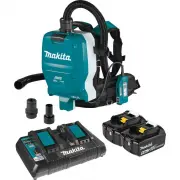
 Makita XCV09PT
User Manual
Makita XCV09PT
User Manual
-
 Makita XCV10PTX
User Manual
Makita XCV10PTX
User Manual
-
 Makita XCV11Z
User Manual
Makita XCV11Z
User Manual
-
 Makita XCV17PG
User Manual
Makita XCV17PG
User Manual
-
 Makita XCV19PG
User Manual
Makita XCV19PG
User Manual
-
 Makita XCV19Z
User Manual
Makita XCV19Z
User Manual
-
 Makita XCV20Z
User Manual
Makita XCV20Z
User Manual
-
 Makita XCV23Z
User Manual
Makita XCV23Z
User Manual
-
 Makita XLC01ZB
User Manual
Makita XLC01ZB
User Manual
-
 Makita XLC02R1B
User Manual
Makita XLC02R1B
User Manual
-
 Makita XLC02RB1W
User Manual
Makita XLC02RB1W
User Manual