Makita FD09R1 - Manuals
User Manual Makita FD09R1


Summary
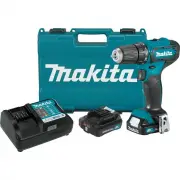
2 ENGLISH ENGLISH (Original instructions) SPECIFICATIONS Model: FD09 FD10 Drilling capacities Steel 10 mm (3/8") Wood 21 mm (13/16") Fastening capacities Wood screw 5.1 mm x 63 mm (7/32" x 2-1/2") Machine screw M6 (1/4") No load speed (RPM) High (2) 0 - 1,700 /min Low (1) 0 - 450...
4 ENGLISH Service 1. Have your power tool serviced by a qualified repair person using only identical replacement parts. This will ensure that the safety of the power tool is maintained. 2. Never service damaged battery packs. Service of battery packs should only be performed by the manufacturer or a...
5 ENGLISH CAUTION: Only use genuine Makita batteries. Use of non-genuine Makita batteries, or batteries that have been altered, may result in the battery bursting causing fires, personal injury and damage. It will also void the Makita warranty for the Makita tool and charger. Tips for maintaining ma...
Makita Drills Manuals
-
 Makita 6407
User Manual
Makita 6407
User Manual
-
Makita 6407
Manual
-
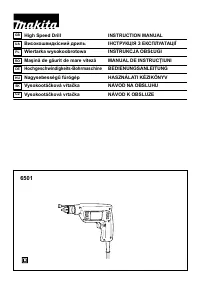 Makita 6501
User Manual
Makita 6501
User Manual
-
Makita 6501
Manual
-
 Makita 6300-4
User Manual
Makita 6300-4
User Manual
-
 Makita 6302H
User Manual
Makita 6302H
User Manual
-
Makita 6302H
Manual
-
 Makita 6408K
User Manual
Makita 6408K
User Manual
-
Makita 6408K
Manual
-
 Makita DA4000LR
User Manual
Makita DA4000LR
User Manual
-
Makita DA4000LR
Manual
-
 Makita DA4031
User Manual
Makita DA4031
User Manual
-
Makita DA4031
Manual
-
 Makita DDA350Z
User Manual
Makita DDA350Z
User Manual
-
 Makita DP2010
User Manual
Makita DP2010
User Manual
-
 Makita DP3003
User Manual
Makita DP3003
User Manual
-
Makita DP3003
Manual
-
 Makita DP4000
User Manual
Makita DP4000
User Manual
-
Makita DP4000
Manual
-
 Makita DP4001
User Manual
Makita DP4001
User Manual