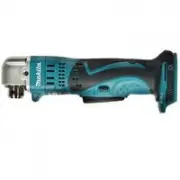
Makita FD07R1 - Manuals
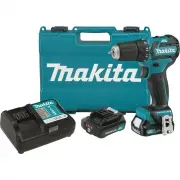
User Manual Makita FD07R1


Summary
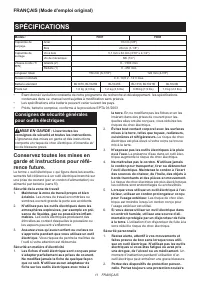
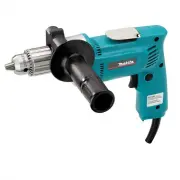
2 ENGLISH ENGLISH (Original instructions) SPECIFICATIONS Model: FD07 FD08 Drilling capacities Steel 10 mm (3/8") Wood 28 mm (1-1/8") Fastening capacities Wood screw 5.1 mm x 63 mm (3/16" x 2-1/2") Machine screw M6 (1/4") No load speed (RPM) High (2) 0 - 1,500 /min Low (1) 0 - 450...
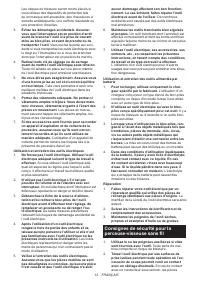
3 ENGLISH jewellery or long hair can be caught in moving parts. 7. If devices are provided for the connection of dust extraction and collection facilities, ensure these are connected and properly used. Use of dust collection can reduce dust-related hazards. Power tool use and care 1. Do not force th...
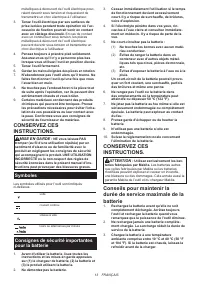
4 ENGLISH Important safety instructions for battery cartridge 1. Before using battery cartridge, read all instruc- tions and cautionary markings on (1) battery charger, (2) battery, and (3) product using battery. 2. Do not disassemble battery cartridge. 3. If operating time has become excessively sh...
Makita Drills Manuals
-
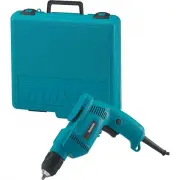
 Makita 6407
User Manual
Makita 6407
User Manual
-
Makita 6407
Manual
-
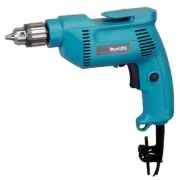
 Makita 6501
User Manual
Makita 6501
User Manual
-
Makita 6501
Manual
-
 Makita 6300-4
User Manual
Makita 6300-4
User Manual
-
 Makita 6302H
User Manual
Makita 6302H
User Manual
-
Makita 6302H
Manual
-
 Makita 6408K
User Manual
Makita 6408K
User Manual
-
Makita 6408K
Manual
-
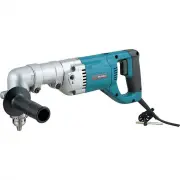 Makita DA4000LR
User Manual
Makita DA4000LR
User Manual
-
Makita DA4000LR
Manual
-
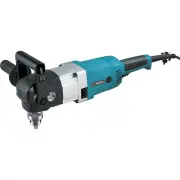 Makita DA4031
User Manual
Makita DA4031
User Manual
-
Makita DA4031
Manual
-
 Makita DDA350Z
User Manual
Makita DDA350Z
User Manual
-
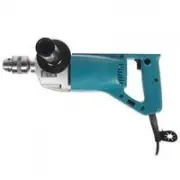
 Makita DP2010
User Manual
Makita DP2010
User Manual
-
 Makita DP3003
User Manual
Makita DP3003
User Manual
-
Makita DP3003
Manual
-
 Makita DP4000
User Manual
Makita DP4000
User Manual
-
Makita DP4000
Manual
-
 Makita DP4001
User Manual
Makita DP4001
User Manual