LG T09AWN - Manuals
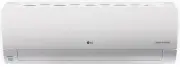
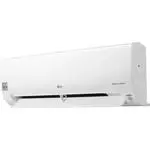
User Manual LG T09AWN


Summary
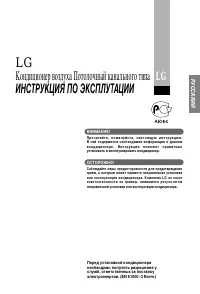
TABLE OF CONTENTS This manual may contain images or content different from the model you purchased.This manual is subject to revision by the manufacturer. SAFETY INSTRUCTIONS ................................................... 3 IMPORTANT SAFETY INSTRUCTIONS ............................................
3 SAFETY INSTRUCTIONS EN The following safety guidelines are intended to prevent unforeseen risks or damage from unsafe or incorrect operation of the appliance. The guidelines are separated into ‘WARNING’ and ‘CAUTION’ as described below. This symbol is displayed to indicate matters and operations t...
4 EN Installation • Do not install the air conditioner on an unstable surface or in a place where there is danger of it falling. • Contact an authorized service center when installing or relocating the air conditioner. • Install the panel and the cover of the control box safely. • Do not install the...
LG Air Conditioners Manuals
-
 LG B24TS
User Manual
LG B24TS
User Manual
-
LG B24TS
Manual
-
 LG B60LH
User Manual
LG B60LH
User Manual
-
 LG LB-H368GSS0
User Manual
LG LB-H368GSS0
User Manual
-
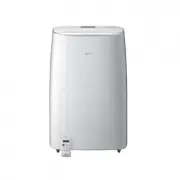
 LG LP0621WSR
User Manual
LG LP0621WSR
User Manual
-
 LG LP0721WSR
User Manual
LG LP0721WSR
User Manual
-
 LG LP0821GSSM
User Manual
LG LP0821GSSM
User Manual
-
 LG LP1021BHSM
User Manual
LG LP1021BHSM
User Manual
-
 LG LP1021BSSM
User Manual
LG LP1021BSSM
User Manual
-
 LG LP1419IVSM
User Manual
LG LP1419IVSM
User Manual
-
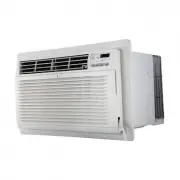 LG LT1016CER
User Manual
LG LT1016CER
User Manual
-
 LG LT1216CER
User Manual
LG LT1216CER
User Manual
-
 LG LT-B2861HL
User Manual
LG LT-B2861HL
User Manual
-
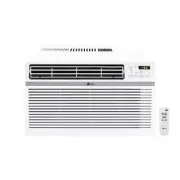 LG LW1016ER
User Manual
LG LW1016ER
User Manual
-
 LG LW1017ERSM
User Manual
LG LW1017ERSM
User Manual
-
 LG LW1017ERSM1
User Manual
LG LW1017ERSM1
User Manual
-
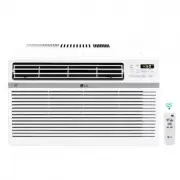
 LG LW1216ER
User Manual
LG LW1216ER
User Manual
-
 LG LW1217ERSM1
User Manual
LG LW1217ERSM1
User Manual
-
 LG LW1221HRSM
User Manual
LG LW1221HRSM
User Manual
-
 LG LW1223HR
User Manual
LG LW1223HR
User Manual