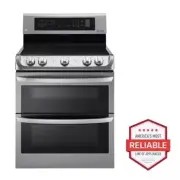
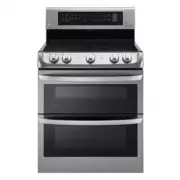
LG LRE3025ST - Manuals
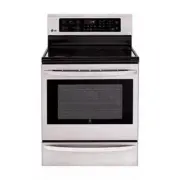
Manual LG LRE3025ST


Summary
2 TABLE OF CONTENTS TABLE OF CONTENTS 3 SAFETY 3 Before You Begin 3 Important Safety Instructions 5 Prepare to Install the Range 6 PREPARE TO INSTALL RANGE 6 Installation Drawings 8 ELECTRICAL CONNECTIONS 8 Electrical Connection Requirements 8 Connect Range Cord 10 3-Wire Connection With a Power Sup...
3 ENGLISH SAFETY BEFORE YOU BEGIN Remove all tape and packing materials before using the range. Dispose of all plastic bags after unpacking the range. Never allow children to play with packing materials. You can download the installation and owner’s manual at: http://www.lg.com. IMPORTANT SAFETY INS...
4 SAFETY • Power supply cord and plug should not be modified. If it will not fit the outlet, have a proper outlet Installed by a qualified electrician. • Using an extension cord to connect the power is prohibited. The way to connect the power cord and plug directly is strongly recommended. • Electri...
LG Ranges Manuals
-
 LG LSES6338F
User Manual
LG LSES6338F
User Manual
-
 LG LSGS6338F
User Manual
LG LSGS6338F
User Manual
-
 LG LSGS6338N
User Manual
LG LSGS6338N
User Manual
-
 LG LSIS6338F
User Manual
LG LSIS6338F
User Manual
-
 LG LTEL7337D
User Manual
LG LTEL7337D
User Manual
-
 LG LDE3015ST
User Manual
LG LDE3015ST
User Manual
-
LG LDE3015ST
Installation Manual
-
LG LDE3015ST
Manual
-
 LG LDE3017ST
User Manual
LG LDE3017ST
User Manual
-
LG LDE3017ST
Manual
-
 LG LDE3031ST
Manual
LG LDE3031ST
Manual
-
 LG LDE3037BD
User Manual
LG LDE3037BD
User Manual
-
 LG LDE3037ST
User Manual
LG LDE3037ST
User Manual
-
LG LDE3037ST
Manual
-
 LG LDE4413ST
User Manual
LG LDE4413ST
User Manual
-
 LG LDE4415BD
User Manual
LG LDE4415BD
User Manual
-
 LG LDE4415ST
User Manual
LG LDE4415ST
User Manual
-
 LG LDG3017ST
Manual
LG LDG3017ST
Manual
-
 LG LDG3035SW
User Manual
LG LDG3035SW
User Manual