Page 4 - Подключение
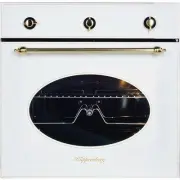
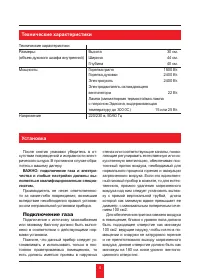
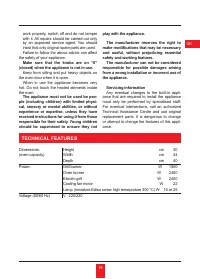
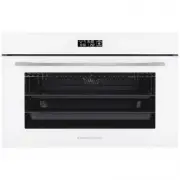
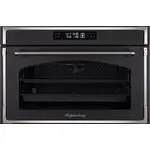
4 Установка Технические характеристики Технические характеристики Размеры : Высота 30 см . ( объем духового шкафа внутренний ) Ширина 44 см . Глубина 40 см . Мощность : Горелка гриля 1500 Вт . Горелка духовки 2400 Вт . Электрогриль 2400 Вт . Электродвигатель охлаждающего вентилятора 22 Вт . Лампа ( ...
Page 6 - Установка; ВАЖНО
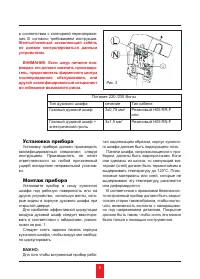
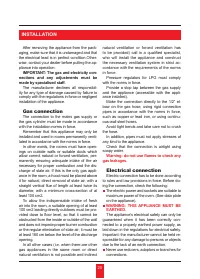
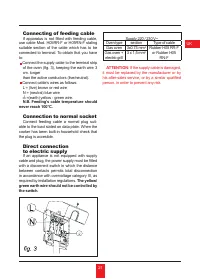
6 в соответствии с категорией перенапряже - ния III согласно требованиям инструкции . Желтый / зеленый заземляющий кабель не должен контролироваться данным устройством . ВНИМАНИЕ : Если шнур питания пов - режден , его должен заменить производи - тель , представитель фирменного центра послепродажного...
Page 10 - Эксплуатация; Газовая
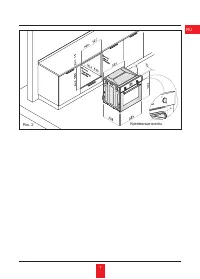
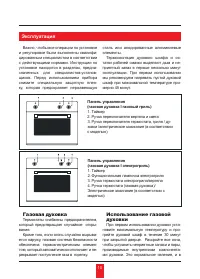
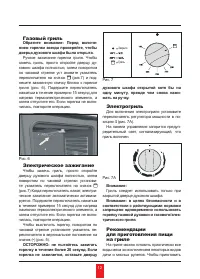
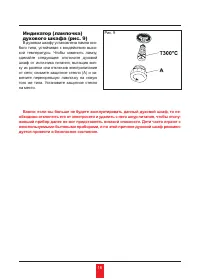
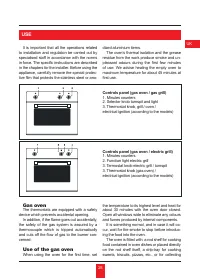
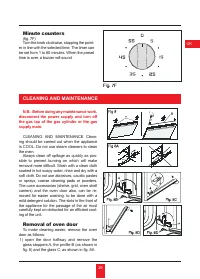
10 Эксплуатация Важно , чтобы все операции по установке и регулировке были выполнены квалифи - цированным специалистом в соответствии с действующими нормами . Инструкции по установке находятся в разделах , предна - значенных для специалистов - установ - щиков . Перед использованием прибора снимите с...
Page 13 - Примечание; Время
RU 13 на гриле рыбу и мясо , их следует сбрызнуть маслом и поместить на гриль ; мясо следует передвинуть ближе или дальше от нагрева - тельного элемента гриля в зависимости от толщины куска мяса , чтобы избежать подго - рания его снаружи и недостаточного прожа - ривания внутри . Добавьте одну чашку ...
Page 14 - Использование
14 Вертел ( если есть ) Использование вертела Вертел является необязательной опцией и имеется лишь в некоторых моделях . Поместите курицу или мясо , для жаркого на вертел L; чтобы оно держалось , проко - лите его двумя вилками F ( рис . 7D). Поместите вертел на подставку G. Вставьте подставку G полн...
Page 18 - GENERAL WARNINGS
18 Waste packsging Do not throw the packaging of your appliance into the dustbin, but pick out the different materi-als (e.g. foil, paperboard, polystyrene) accord-ing to the local rules for rubbish elimination. This appliance complies with the following Community Directives: 2006/95 EEC “Low Voltag...
Page 19 - TECHNICAL FEATURES
UK 19 work properly, switch off and do not tamper with it. All repairs should be carried out only by an approved service agent. You should insist that only original spare parts are used.Failure to follow the above advice can affect the safety of your appliance. Make sure that the knobs are on “0” (c...
Page 20 - INSTALLATION; Gas connection; fl; Electrical connection; WARNING: THIS APPLIANCE MUST BE
20 INSTALLATION After removing the appliance from the pack- aging, make sure that it is undamaged and that the electrical lead is in perfect condition.Other-wise, contact your dealer before putting the ap-pliance into operation. IMPORTANT: The gas and electricity con- nections and any adjustments mu...
Page 22 - IMPORTANT
22 Installing the appliance Installation should be carried out according to the instructions by a professionally quali fi ed person. The manufacturer declines all respon-sibility for any damage to persons, animals or things due to a wrong installation. Fitting the appliance Fit the appliance into it...
Page 23 - REGULATION THE GAS; Regulating the gas; Adaptation for different types of gas.; Oven burner
UK 23 REGULATION THE GAS Regulating the gas Adaptation for different types of gas. If the appliance requires a different type of gas than the kind available (see the serial number located near the hinge of the oven door), the injectors must be changed, the minimum ad-justed. Oven burner To change th...
Page 24 - DESCRIPTIONS OF ACCESSORIES; Minimum
24 DESCRIPTIONS OF ACCESSORIES Minimum fl ow adjustment for oven thermostat In order to adjust the minimum, act as fol- lows: switch the burner on turning the knob to the maximum position. Remove the knob and unscrew of some turns the by-pass screw ( fi g. H). Assemble the knob and let the oven warm...
Page 25 - USE; Gas oven; Use of the gas oven
UK 25 It is important that all the operations related to installation and regulation be carried out by specialised staff in accordance with the norms in force. The speci fi c instructions are described in the chapters for the installer. Before using the appliance, carefully remove the special protec...
Page 26 - tom in the base of the oven.; Manual ignition; WARNING: Do not operate the ignition for; Oven cooking
26 juices and fats from food cooked directly on the rod shelf. warnings: do not cook foods on the bot- tom in the base of the oven. Attention: For safety reasons and the norms in force it is prohibited to use the gas oven burner at the same time as the gas/electric grill. N.B.: Always make sure that...
Page 28 - Cooking times
28 creation of smoke caused by sauce or grease drippings. Put the drip tray on the fi rst level ( fi g. 7B). Fig. 7B NOTE: Install the grids, by placing them on the horizontal slides inside the oven wall. The raised part of the grid must be in face of the oven rear wall ( fi g. 7C). Cooking times Co...
Page 29 - CLEANING AND MAINTENANCE; Minute counters
UK 29 CLEANING AND MAINTENANCE Minute counters ( fi g. 7F) Turn the knob clockwise, stopping the point- er in line with the selected time. The timer can be set from 1 to 60 minutes. When the preset time is over, a buzzer will sound. N.B.: Before doing any maintenance work, disconnect the power suppl...
Page 30 - Oven light
30 2) open the oven door completely.3) fl ip the hinge hooks “A” outwards (see fi g. 8B). 4) shut the oven door slowly until it reaches hooks “A”, making sure these are locked into slots “B” of the oven door, as shown in fi g. 8C. 5) Using both hands, push the oven door lightlyinwards, toenable the ...