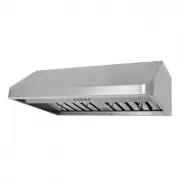
KOBE CH7748SQ6-XX - Manuals
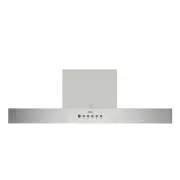
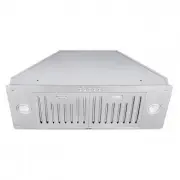
User Manual KOBE CH7748SQ6-XX


Summary
IMPORTANT READ THIS FIRST READ BEFORE INSTALLATION 1. Carefully check all contents of packages. 2. Thoroughly inspect the unit for any shipping damages, cosmetic damages or defects. 3. Have a certified contractor/electrician test the unit before installation. IF THERE IS ANY PROBLEM: 1. DO NOT INSTA...
[ENGLISH] - READ AND SAVE THESE INSTRUCTIONS - CONTENTS IMPORTANT SAFETY INSTRUCTIONS ......................................................................... 1 COMPONENTS OF PACKAGE ....................................................................................... 3 INSTALLATION ................
1 IMPORTANT SAFETY INSTRUCTIONS - PLEASE READ THIS SECTION CAREFULLY BEFORE INSTALLATION - WARNING: TO REDUCE THE RISK OF FIRE, ELECTRIC SHOCK OR PERSONAL INJURY, OBSERVE THE FOLLOWING. 1) Installation and electrical wiring must be done by qualified professionals and in accordance with all applicabl...
KOBE Range Hoods Manuals
-
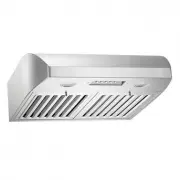
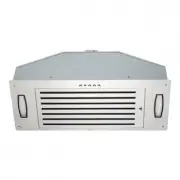
 KOBE CH2230SQB6-XX
User Manual
KOBE CH2230SQB6-XX
User Manual
-
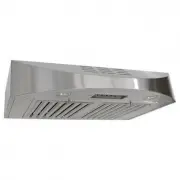
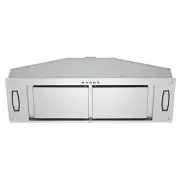
 KOBE CH2236SQB6-XX
User Manual
KOBE CH2236SQB6-XX
User Manual
-
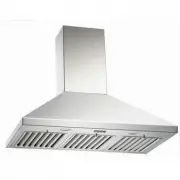
 KOBE CH7748SQ6-WM-XX
User Manual
KOBE CH7748SQ6-WM-XX
User Manual
-
 KOBE CHX2230SQB-1
User Manual
KOBE CHX2230SQB-1
User Manual
-
 KOBE CHX2236SQB-1
User Manual
KOBE CHX2236SQB-1
User Manual
-
 KOBE CHX3830SQBD-3
User Manual
KOBE CHX3830SQBD-3
User Manual
-
 KOBE CHX3836SQBD-3
User Manual
KOBE CHX3836SQBD-3
User Manual
-
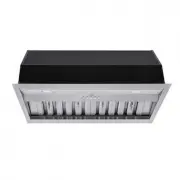
 KOBE CHX8130SQB-1
User Manual
KOBE CHX8130SQB-1
User Manual
-
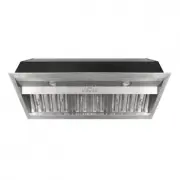
 KOBE CHX9130SQB-1
User Manual
KOBE CHX9130SQB-1
User Manual
-
 KOBE CHX9130SQB-2
User Manual
KOBE CHX9130SQB-2
User Manual
-
 KOBE CHX9136SQB-1
User Manual
KOBE CHX9136SQB-1
User Manual
-
 KOBE IN2630SQB-700-2
User Manual
KOBE IN2630SQB-700-2
User Manual
-
 KOBE IN2636SQB-1200-1
User Manual
KOBE IN2636SQB-1200-1
User Manual
-
 KOBE IN2636SQB-700-1
User Manual
KOBE IN2636SQB-700-1
User Manual
-
 KOBE IN2830SQB-XX
User Manual
KOBE IN2830SQB-XX
User Manual
-
 KOBE IN2830SQP-XX
User Manual
KOBE IN2830SQP-XX
User Manual
-
 KOBE IN2836SQP-XX
User Manual
KOBE IN2836SQP-XX
User Manual
-
 KOBE INX2630SQB-700-3
User Manual
KOBE INX2630SQB-700-3
User Manual
-
 KOBE INX2636SQB-700-3
User Manual
KOBE INX2636SQB-700-3
User Manual
-
 KOBE INX2730SQB-700-3
User Manual
KOBE INX2730SQB-700-3
User Manual