KitchenAid KMQCX 45600 - Manuals
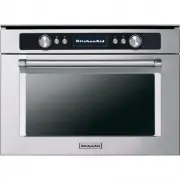
User Manual KitchenAid KMQCX 45600


Summary
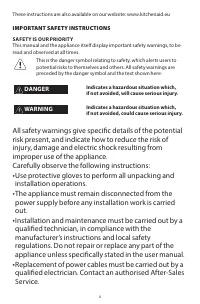
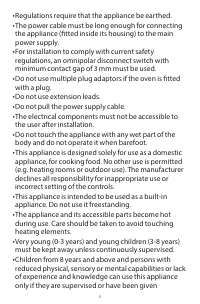
4 These instructions are also available on our website: www.kitchenaid.eu IMPORTANT SAFETY INSTRUCTIONS SAFETY IS OUR PRIORITY This manual and the appliance itself display important safety warnings, to be read and observed at all times. This is the danger symbol relating to safety, which alerts user...
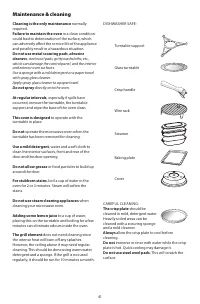
9 Disposal of packing materials • The packaging material is 100 % recyclable and is marked with the recycle symbol ( ) • The various parts of the packing must therefore be disposed of responsibly and in full compliance with local authority regulations governing waste disposal. Energy saving tips • O...
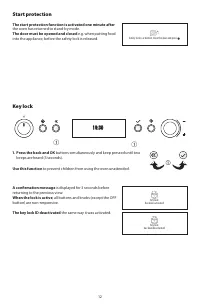
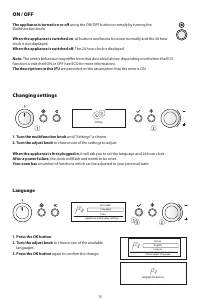
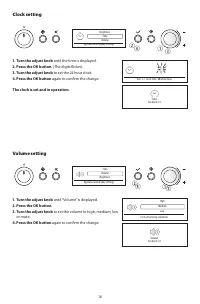
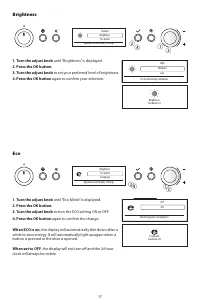
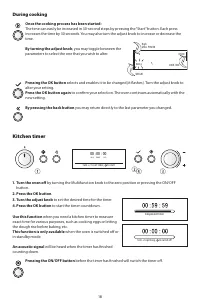
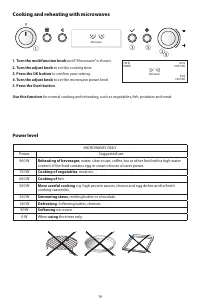
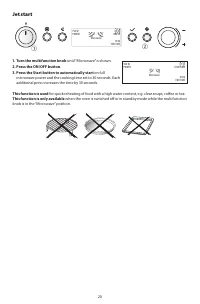
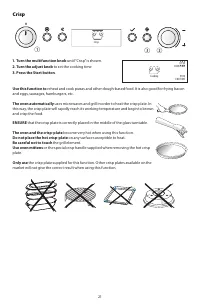
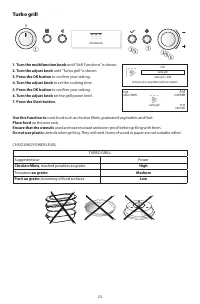
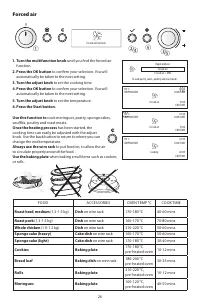
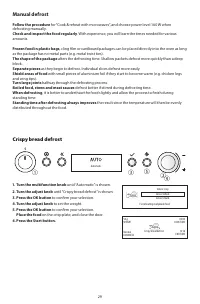
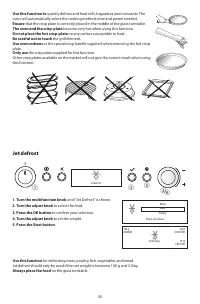
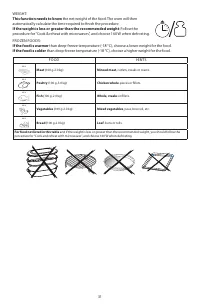
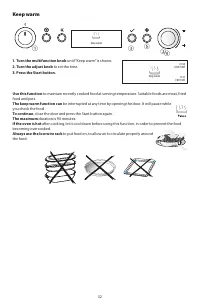
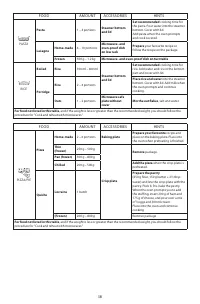
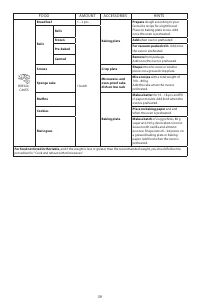
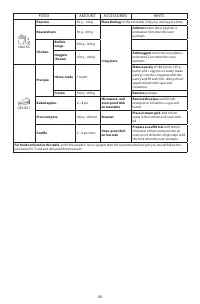
11 GENERAL There are a number of accessories available on the market. Before you buy, ensure that they are suitable for microwave use.Before cooking, ensure that the utensils you use are oven proof and allow microwaves to pass through them. When you put food and accessories in the microwave oven, en...
KitchenAid Microwaves Manuals
-
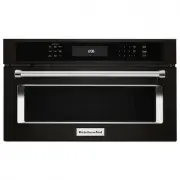
 KitchenAid KMBD104GSS
User Manual
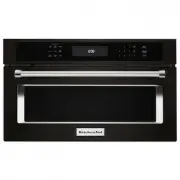
KitchenAid KMBD104GSS
User Manual
-
KitchenAid KMBD104GSS
Installation Manual
-
KitchenAid KMBD104GSS
Manual
-
KitchenAid KMBD104GSS
Troubleshooting Guide
-
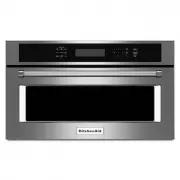
 KitchenAid KMBP100EBS
User Manual
KitchenAid KMBP100EBS
User Manual
-
KitchenAid KMBP100EBS
Manual
-
KitchenAid KMBP100EBS
Installation Manual
-
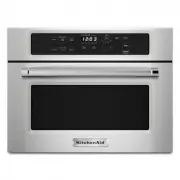
 KitchenAid KMBP100ESS
User Manual
KitchenAid KMBP100ESS
User Manual
-
KitchenAid KMBP100ESS
Manual
-
KitchenAid KMBP100ESS
Installation Manual
-
 KitchenAid KMBP107EBS
User Manual
KitchenAid KMBP107EBS
User Manual
-
KitchenAid KMBP107EBS
Manual
-
KitchenAid KMBP107EBS
Installation Manual
-
 KitchenAid KMBP107ESS
User Manual
KitchenAid KMBP107ESS
User Manual
-
KitchenAid KMBP107ESS
Manual
-
KitchenAid KMBP107ESS
Installation Manual
-
 KitchenAid KMBS104EBL
User Manual
KitchenAid KMBS104EBL
User Manual
-
KitchenAid KMBS104EBL
Installation Manual
-
KitchenAid KMBS104EBL
Manual
-
 KitchenAid KMBS104ESS
User Manual
KitchenAid KMBS104ESS
User Manual