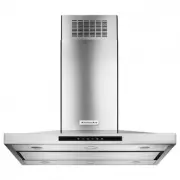
KitchenAid KEWTP 90010 - Manuals
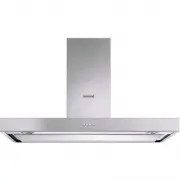
User Manual KitchenAid KEWTP 90010


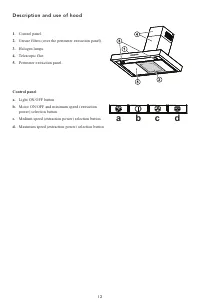


Summary
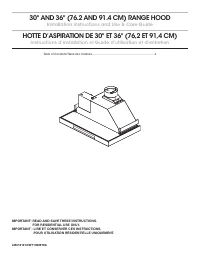
4 YOUR SAFETY AND THAT OF OTHERS ISHIGHLY IMPORTANT. This manual and the appliance itself provideimportant safety warnings, to be read and observedat all times. This is the attention symbol, pertaining tosafety, which alerts users to potential risks tothemselves and others. All safety warnings are p...
6 Disposal of packing The packing material is 100% recyclable and ismarked with the recycle symbol . The various parts of the packing must be disposed of responsiblyand in full compliance with local authorityregulations governing waste disposal. Disposal of the appliance - This appliance is marked i...
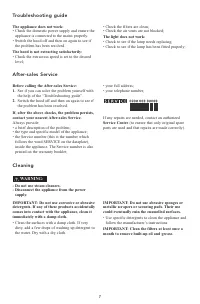
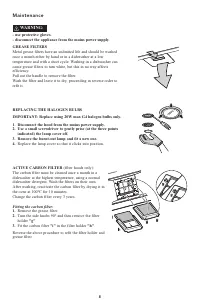
7 The appliance does not work: • Check the domestic power supply and ensure the appliance is connected to the mains properly. • Switch the hood off and then on again to see if the problem has been resolved. The hood is not extracting satisfactorily: • Check the extraction speed is set to the desired...
KitchenAid Range Hoods Manuals
-
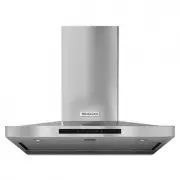
 KitchenAid KEBDS90020
User Manual
KitchenAid KEBDS90020
User Manual
-
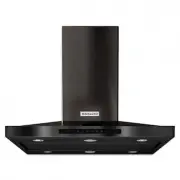
 KitchenAid KEBES60010
User Manual
KitchenAid KEBES60010
User Manual
-
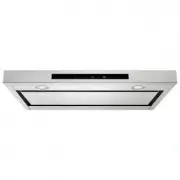
 KitchenAid KEIPP 12020
User Manual
KitchenAid KEIPP 12020
User Manual
-
 KitchenAid KEWPP90010
User Manual
KitchenAid KEWPP90010
User Manual
-
 KitchenAid KEWVP 80010
User Manual
KitchenAid KEWVP 80010
User Manual
-
 KitchenAid KVIB602DSS
User Manual
KitchenAid KVIB602DSS
User Manual
-
 KitchenAid KVIB606DBS
User Manual
KitchenAid KVIB606DBS
User Manual
-
KitchenAid KVIB606DBS
Installation Manual
-
KitchenAid KVIB606DBS
Manual
-
 KitchenAid KVIB606DSS
User Manual
KitchenAid KVIB606DSS
User Manual
-
 KitchenAid KVUB400GSS
User Manual
KitchenAid KVUB400GSS
User Manual
-
KitchenAid KVUB400GSS
Installation Manual
-
KitchenAid KVUB400GSS
Manual
-
 KitchenAid KVUB406GSS
User Manual
KitchenAid KVUB406GSS
User Manual
-
KitchenAid KVUB406GSS
Installation Manual
-
KitchenAid KVUB406GSS
Manual
-
 KitchenAid KVUB600DSS
User Manual
KitchenAid KVUB600DSS
User Manual
-
 KitchenAid KVUB606DSS
User Manual
KitchenAid KVUB606DSS
User Manual
-
 KitchenAid KVUC600KSS
User Manual
KitchenAid KVUC600KSS
User Manual
-
KitchenAid KVUC600KSS
Installation Manual