Page 4 - Important safety instructions
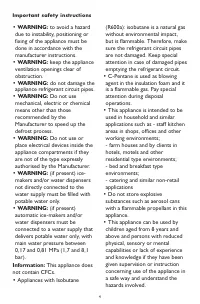
4 • WARNING: to avoid a hazard due to instability, positioning orfixing of the appliance must bedone in accordance with themanufacturer instructions. • WARNING: keep the appliance ventilation openings clear ofobstruction. • WARNING: do not damage the appliance refrigerant circuit pipes. • WARNING: D...
Page 6 - Declaration of conformity; Safeguarding the environment
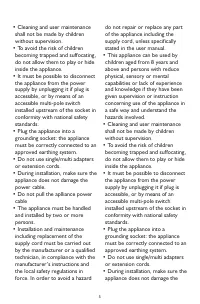
6 power cable. • Do not pull the aplliance power cable • The appliance must be handled and installed by two or morepersons. •Installation and maintenance including replacement of thesupply cord must be carried out by the manufacturer or a qualifiedtechnician, in compliance with themanufacturer’s ins...
Page 7 - SN; Precautions and general recommendations
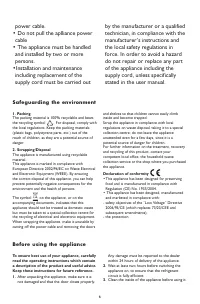
7 INSTALLATION •Be careful not to damage the floors (e.g. parquet) when moving the appliance. • Make sure the appliance is not near a heat source.• Install and level the appliance on a floor strong enough to take its weight and in a place suitable forits size and use. • The appliance is arranged for...
Page 8 - Electrical connection for Great Britain and Ireland only; Warning - this appliance must be earthed
8 Electrical connection for Great Britain and Ireland only Warning - this appliance must be earthed Fuse replacement If the mains lead of this appliance is fitted with a BS1363A 13amp fused plug, to change a fuse in thistype of plug use an A.S.T.A. approved fuse to BS1362 type and proceed as follows...
Page 9 - First use; unscrewed, following the directions of the arrows as indicated.; Changing the bulb or led (depending on the model)
9 Connect the appliance to the mains power supply. A beep may be emitted by some models, to indicate that the temperature alarm has intervened: press andhold the button to switch off acoustic alarms. As applicable, insert the anti-bacterial/anti-odour filter intothe fan as indicated on the filter pa...
Page 10 - Refrigerator compartment defrosting is completely automatic.; refrigerator accessories must not be washed in a dishwasher.; Removing the crisper drawer (depending on the model)
10 Unplug the appliance from the mains, then empty, defrost (if necessary) and clean it. Leave the doors ajar,so that air can circulate inside the compartments. This will prevent the formation of mould and badodours. When the appliance is not in use Keep the doors closed to allow the stored food to ...
Page 11 - The freezer compartment; Making ice cubes; If the freezer compartment base resembles figure; Freezer compartment; It is perfectly normal for frost to form.; Defrosting the freezer compartment (depending on the model)
11 The freezer compartment stores frozen food (for the period indicated on the package) and freezes fresh food. The amount of fresh food that can be frozen in 24 hours is shown on the rating plate; place the food in thefreezer compartment (see Quick Start Guide), leaving leaving enough space around ...
Page 12 - Important
12 “Zero degrees” box (depending on the model) The "Zero Degrees" box is specifically designed to maintain a low temperature and a suitable humidity level, in order to keep foodsfresher for longer (e.g. meat, fish, fruit and winter vegetables). Activating and deactivating the box The tempera...
Page 14 - With the container below; Haute cuisine; Haute cuisine can be used in 2 different positions
14 14 With the container on top, using the lidas a base With the container below *with selected models only Haute cuisine * Both Haute cuisine and Cheese box can be used for serving food at thetable. Do not use them in the freezer, microwave oven or on other heatsources.Do not chop food directly on ...
Page 15 - Before contacting the After-Sales Service:; • the type of fault
Before contacting the After-Sales Service: Switch the appliance on again to see if the problemhas been solved. If it has not, unplug the applianceand wait for about an hour before switching onagain. If the appliance is still not working after you havegone through all the checks listed in thetroubles...
Page 16 - Printed in Italy