KitchenAid 5KCF0104AER - Manuals
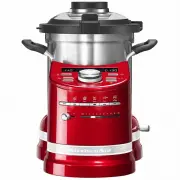
User Manual KitchenAid 5KCF0104AER
1

2

3

4

5

6

7

8

9

10

11

12

13

14

15

16

17

18

19

20

21

22

23

24

25

26

27

28

29

30

31

32

Summary
Page 2 - COOK PROCESSOR INSTRUCTIONS
2 COOK PROCESSOR INSTRUCTIONS W10832404A_EN_v01.indd 2 12/18/15 9:33 AM
Page 3 - English; TABLE OF CONTENTS
3 English COOK PROCESSOR INSTRUCTIONS COOK PROCESSOR SAFETY Important safeguards .......................................................................................... 4 Electrical requirements ...................................................................................... 6 Electrical eq...
Page 4 - IMPORTANT SAFEGUARDS; When using electrical appliances, basic safety precautions
4 COOK PROCESSOR SAFETY COOK PROCESSOR SAFETY IMPORTANT SAFEGUARDS When using electrical appliances, basic safety precautions should always be followed to reduce the risk of fire, electric shock, and/or injury to persons including the following:1. Read all instructions. 2. To protect against risk of...
KitchenAid Multicookers Manuals
-
 KitchenAid 92395
User Manual
KitchenAid 92395
User Manual
-
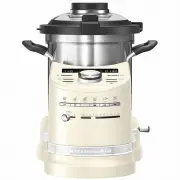
 KitchenAid 5KCF0103ACA
User Manual
KitchenAid 5KCF0103ACA
User Manual
-
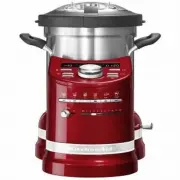
 KitchenAid 5KCF0103AER
User Manual
KitchenAid 5KCF0103AER
User Manual
-
 KitchenAid 5KCF0103AOB
User Manual
KitchenAid 5KCF0103AOB
User Manual
-
 KitchenAid 5KCF0104AAC
User Manual
KitchenAid 5KCF0104AAC
User Manual
-
 KitchenAid 5KMC4244
User Manual
KitchenAid 5KMC4244
User Manual
-
 KitchenAid 5KMC4244ACA
User Manual
KitchenAid 5KMC4244ACA
User Manual
-
 KitchenAid KCF0104ACA
User Manual
KitchenAid KCF0104ACA
User Manual
-
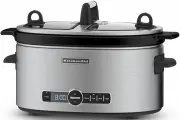
 KitchenAid KSC6223
User Manual
KitchenAid KSC6223
User Manual
-
KitchenAid KSC6223
Manual