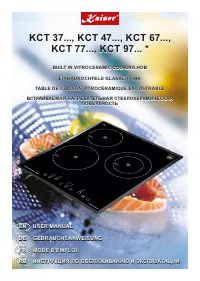
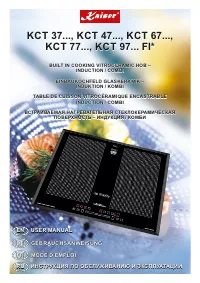
Kaiser KCT 6730 FIG - Manuals

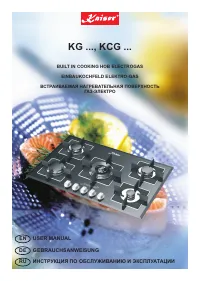
User Manual Kaiser KCT 6730 FIG


Summary
2 thank you for purchasing this Kaiser product. DEAR CUSTOMERS, We are convinced that you have made a right choice. Thisproduct which satisfies the high quality demands andcorresponds to world comprehensive standards realizes yourcookeries, and his modern appearance which has beendeveloped by the be...
3 УВАЖАЕМЫЙ ПОКУПАТЕЛЬ , благодарим Вас за приобретение нашей техники. Мы уверены, что Вы сделали правильный выбор. Просим Вас внимательно прочитать инструкцию пообслуживанию и эксплуатации до пуска устройства.С о бл ю д е н и е со д е рж а щ и хс я в н е й р е ком е н д а ц и йзащитит Вас от возмож...
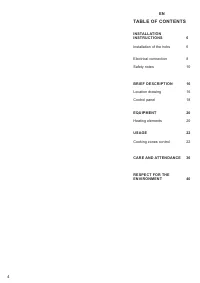
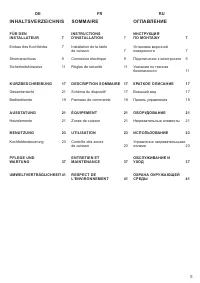
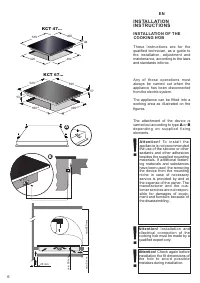
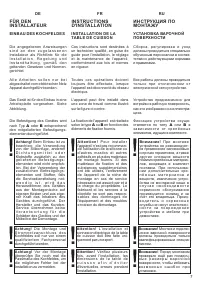
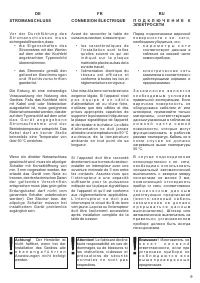
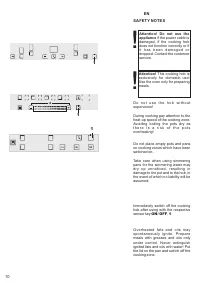
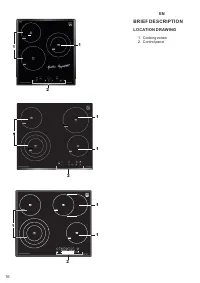
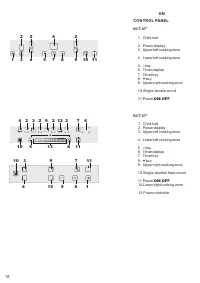
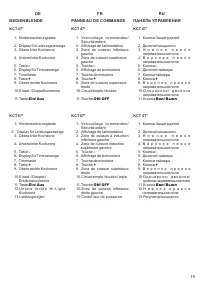
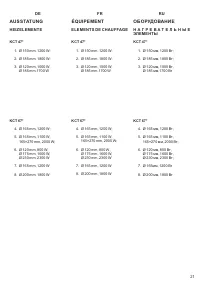
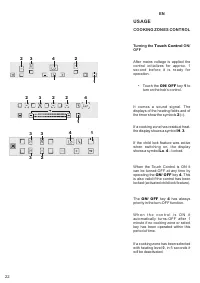
4 EN TABLE OF CONTENTS INSTALLATIONINSTRUCTIONS 6 Control panel 18 Installation of the hobs 6 Location drawing 16 Electrical connection 8 B 1 RIEF DESCRIPTION 6 EQUIPMENT 20 Heating elements 20 USAGE 22 Cooking zones control 22 Safety notes 10 CARE AND ATTENDANCE 36 RESPECT FOR THEENVIRONMENT 40
Kaiser Hobs Manuals
-
 Kaiser KCG 4380 Turbo
User Manual
Kaiser KCG 4380 Turbo
User Manual
-
Kaiser KCG 4380 W Turb
User Manual
-
Kaiser KCG 6335 ElfEm Turbo
User Manual
-
Kaiser KCG 6335 Em Turbo
User Manual
-
 Kaiser KCG 6335 RotEm Turbo
User Manual
Kaiser KCG 6335 RotEm Turbo
User Manual
-
Kaiser KCG 6380 W Turbo
User Manual
-
 Kaiser KCG 6387 Turbo
User Manual
Kaiser KCG 6387 Turbo
User Manual
-
 Kaiser KCG 6394 Turbo Romb
User Manual
Kaiser KCG 6394 Turbo Romb
User Manual
-
 Kaiser KCG 6394 W Turbo Romb
User Manual
Kaiser KCG 6394 W Turbo Romb
User Manual
-
 Kaiser KCG 6394 W Turbo Romb (MULTI)
User Manual
Kaiser KCG 6394 W Turbo Romb (MULTI)
User Manual
-
 Kaiser KCG 6976 VGBE Turbo
User Manual
Kaiser KCG 6976 VGBE Turbo
User Manual
-
 Kaiser KCG 9386 Turbo
User Manual
Kaiser KCG 9386 Turbo
User Manual
-
 Kaiser KCG 9387 Turbo
User Manual
Kaiser KCG 9387 Turbo
User Manual
-
 Kaiser KCT 3422 F Avantgard
User Manual
Kaiser KCT 3422 F Avantgard
User Manual
-
 Kaiser KCT 3426 FI Avantgar
User Manual
Kaiser KCT 3426 FI Avantgar
User Manual
-
 Kaiser KCT 3721 FW
User Manual
Kaiser KCT 3721 FW
User Manual
-
 Kaiser KCT 3726 FIW
User Manual
Kaiser KCT 3726 FIW
User Manual
-
 Kaiser KCT 4745 F
User Manual
Kaiser KCT 4745 F
User Manual
-
 Kaiser KCT 4795 FI AD
User Manual
Kaiser KCT 4795 FI AD
User Manual
-
Kaiser KCT 4795 FI ElfAD
User Manual