JVC KS-FX742R - Manuals
JVC KS-FX742R Car Radio – Manual in PDF format online.
Manuals:
Manual JVC KS-FX742R


Summary
2 ENGLISH How to reset your unit While holding SEL (select), press (standby/on/attenuator) for more than 2 seconds. This will reset the built-in microcomputer. Note: Your preset adjustments—such as preset channels or sound adjustments—will also be erased. How to use the MODE button If you press MODE...
3 ENGLISH CONTENTS Thank you for purchasing a JVC product. Please read all instructions carefully before operation, to ensure your complete understanding and to obtain the best possible performance from the unit. How to reset your unit ............................... 2 How to use the MODE button ......
4 ENGLISH LOCATION OF THE BUTTONS Control panel 1 (standby/on/attenuator) button 2 TP/PTY (traffic programme/programme type)button 3 SEL (select) button 4 Display window 5 Cassette compartment 6 0 (eject) button 7 FM/AM (DAB) button 8 TAPE 23 button 9 ¢ / 4 buttons • Also functions as SSM buttons wh...
JVC Car Radios Manuals
-
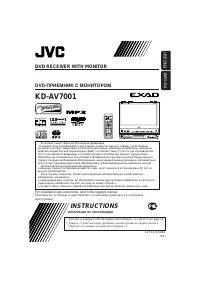 JVC KD-AV7001
User Manual
JVC KD-AV7001
User Manual
-
JVC KD-AV7001
Manual
-
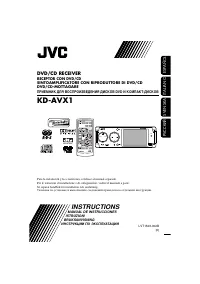 JVC KD-AVX1
Manual
JVC KD-AVX1
Manual
-
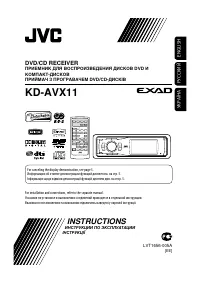 JVC KD-AVX11
User Manual
JVC KD-AVX11
User Manual
-
JVC KD-AVX11
Manual
-
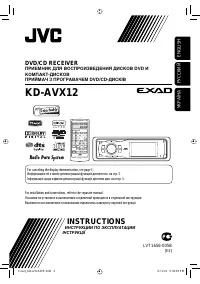 JVC KD-AVX12
User Manual
JVC KD-AVX12
User Manual
-
 JVC KD-AVX2
User Manual
JVC KD-AVX2
User Manual
-
JVC KD-AVX2
Manual
-
 JVC KD-AVX20
User Manual
JVC KD-AVX20
User Manual
-
 JVC KD-AVX22
User Manual
JVC KD-AVX22
User Manual
-
JVC KD-AVX22
Manual
-
 JVC KD-AVX33
User Manual
JVC KD-AVX33
User Manual
-
JVC KD-AVX33
Manual
-
 JVC KD-AVX40
User Manual
JVC KD-AVX40
User Manual
-
JVC KD-AVX40
Manual
-
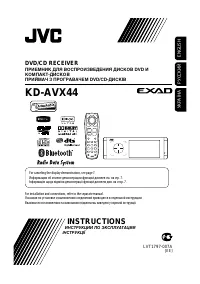 JVC KD-AVX44
User Manual
JVC KD-AVX44
User Manual
-
 JVC KD-AVX55
User Manual
JVC KD-AVX55
User Manual
-
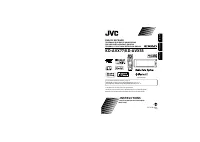
 JVC KD-AVX77
User Manual
JVC KD-AVX77
User Manual
-
JVC KD-AVX77
Manual
-
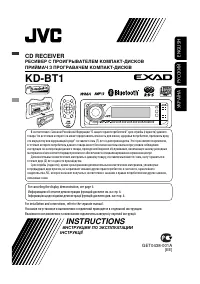 JVC KD-BT1
User Manual
JVC KD-BT1
User Manual