JVC KD-S723R - Manuals
JVC KD-S723R Car Radio – Manual in PDF format online.
Manuals:
Manual JVC KD-S723R


Summary
2 ENGLISH Position And Reproduction Of Labels IMPORTANT FOR LASER PRODUCTS Precautions: 1. CLASS 1 LASER PRODUCT2. CAUTION: Invisible laser radiation when open and interlock failed or defeated. Avoid direct exposure tobeam. 3. CAUTION: Do not open the top cover. There are no user-serviceable parts i...
3 ENGLISH CONTENTS Thank you for purchasing a JVC product. Please read all instructions carefully before operation, to ensure your complete understanding and to obtain the best possible performance from the unit. BEFORE USE * For safety.... • Do not raise the volume level too much, as this will bloc...
4 ENGLISH LOCATION OF THE BUTTONS Control panel ; SEL TP/PTY DISP SSM ¢ 4 CD FM AM SCM MODE 7 8 9 10 11 12 RND RPT MO w i q o 1 2 4 3 5 8 p 6 7 9 e r y t a s d f g k l / h j zx u Display window Display window a SCM (sound control memory) indicator s CD source indicator d FM band indicator (FM1, FM2,...
JVC Car Radios Manuals
-
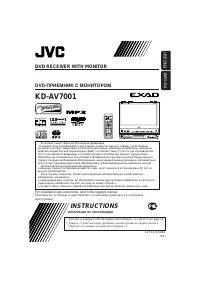 JVC KD-AV7001
User Manual
JVC KD-AV7001
User Manual
-
JVC KD-AV7001
Manual
-
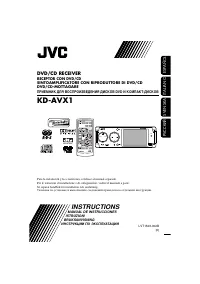 JVC KD-AVX1
Manual
JVC KD-AVX1
Manual
-
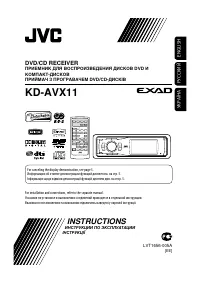 JVC KD-AVX11
User Manual
JVC KD-AVX11
User Manual
-
JVC KD-AVX11
Manual
-
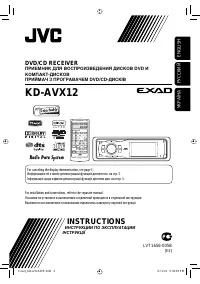 JVC KD-AVX12
User Manual
JVC KD-AVX12
User Manual
-
 JVC KD-AVX2
User Manual
JVC KD-AVX2
User Manual
-
JVC KD-AVX2
Manual
-
 JVC KD-AVX20
User Manual
JVC KD-AVX20
User Manual
-
 JVC KD-AVX22
User Manual
JVC KD-AVX22
User Manual
-
JVC KD-AVX22
Manual
-
 JVC KD-AVX33
User Manual
JVC KD-AVX33
User Manual
-
JVC KD-AVX33
Manual
-
 JVC KD-AVX40
User Manual
JVC KD-AVX40
User Manual
-
JVC KD-AVX40
Manual
-
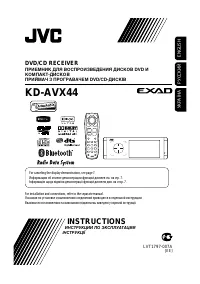 JVC KD-AVX44
User Manual
JVC KD-AVX44
User Manual
-
 JVC KD-AVX55
User Manual
JVC KD-AVX55
User Manual
-
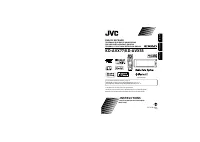
 JVC KD-AVX77
User Manual
JVC KD-AVX77
User Manual
-
JVC KD-AVX77
Manual
-
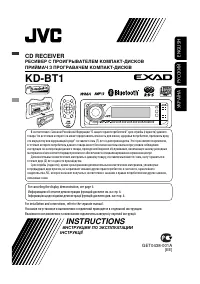 JVC KD-BT1
User Manual
JVC KD-BT1
User Manual