JVC KD-R515 - Manuals
JVC KD-R515 Car Radio – Manual in PDF format online.
Manuals:
Manual JVC KD-R515


Summary
2 Listening to the disc ~ ] Turn on the power. Ÿ All tracks will be played repeatedly until you change the source or eject the disc. Listening to the other external components You can connect an external component to the AUX (auxiliary) input jack on the control panel.• Make sure <AUX ON> is s...
3 1 2 3 Repeat step 2 if necessary. • To return to the previous menu, press BACK . • To exit from the menu, press DISP or MENU . Category Menu item Selectable setting, [ Initial: Underlined ] DEMO DEMO • DEMO ON • DEMO OFF : Display demonstration will be activated automatically if no operation is do...
4 Heat sink Installation This unit is designed to operate on 12 V DC, NEGATIVE ground electrical systems . If your vehicle does not have this system, a voltage inverter is required, which can be purchased at JVC car audio dealers. Prepare these before installation.... Warnings • To prevent short cir...
JVC Car Radios Manuals
-
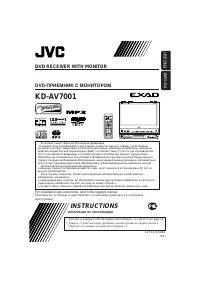 JVC KD-AV7001
User Manual
JVC KD-AV7001
User Manual
-
JVC KD-AV7001
Manual
-
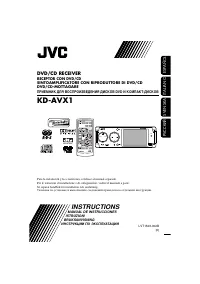 JVC KD-AVX1
Manual
JVC KD-AVX1
Manual
-
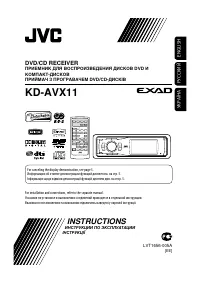 JVC KD-AVX11
User Manual
JVC KD-AVX11
User Manual
-
JVC KD-AVX11
Manual
-
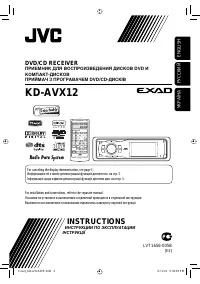 JVC KD-AVX12
User Manual
JVC KD-AVX12
User Manual
-
 JVC KD-AVX2
User Manual
JVC KD-AVX2
User Manual
-
JVC KD-AVX2
Manual
-
 JVC KD-AVX20
User Manual
JVC KD-AVX20
User Manual
-
 JVC KD-AVX22
User Manual
JVC KD-AVX22
User Manual
-
JVC KD-AVX22
Manual
-
 JVC KD-AVX33
User Manual
JVC KD-AVX33
User Manual
-
JVC KD-AVX33
Manual
-
 JVC KD-AVX40
User Manual
JVC KD-AVX40
User Manual
-
JVC KD-AVX40
Manual
-
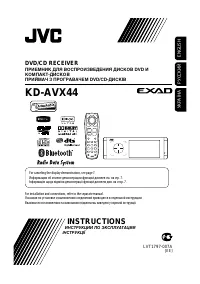 JVC KD-AVX44
User Manual
JVC KD-AVX44
User Manual
-
 JVC KD-AVX55
User Manual
JVC KD-AVX55
User Manual
-
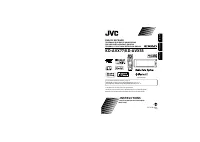
 JVC KD-AVX77
User Manual
JVC KD-AVX77
User Manual
-
JVC KD-AVX77
Manual
-
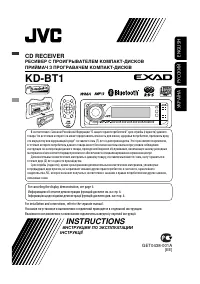 JVC KD-BT1
User Manual
JVC KD-BT1
User Manual