JVC KD-R326 - Manuals
JVC KD-R326 Car Radio – Manual in PDF format online.
Manuals:
Manual JVC KD-R326


Summary
3 ENGLISH How to attach/detach the control panel How to reset your unit Your preset adjustments will also be erased. How to forcibly eject a disc • Be careful not to drop the disc when it ejects.• If this does not work, reset your unit. Maintenance Cleaning the unit Wipe off the dirt on the panel wi...
4 ENGLISH 1 Turn on the power. 2 3 Setting the clock 1 Turn on the power. 2 3 Select <CLOCK>. 4 Select <CLOCK SET>. 5 Adjust the hour. 6 Adjust the minute. 7 Finish the procedure. 4 Select <DEMO OFF>. 5 6 Finish the procedure. Canceling the display demonstration (Initial setting) (...
5 ENGLISH Caution: • Danger of explosion if battery is incorrectly replaced. Replace only with the same or equivalent type. • Battery shall not be exposed to excessive heat such as sunshine, fire, or the like. Warning (to prevent accidents and damage): • Do not install any battery other than CR2025 ...
JVC Car Radios Manuals
-
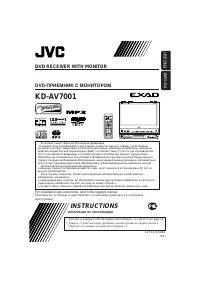 JVC KD-AV7001
User Manual
JVC KD-AV7001
User Manual
-
JVC KD-AV7001
Manual
-
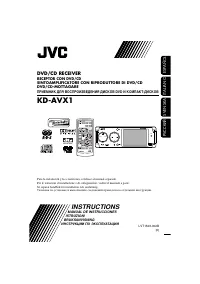 JVC KD-AVX1
Manual
JVC KD-AVX1
Manual
-
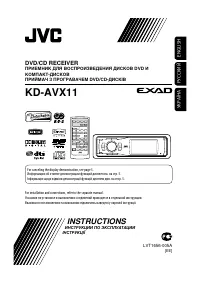 JVC KD-AVX11
User Manual
JVC KD-AVX11
User Manual
-
JVC KD-AVX11
Manual
-
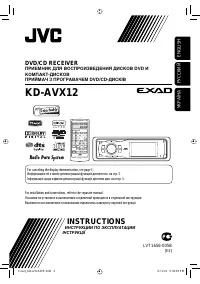 JVC KD-AVX12
User Manual
JVC KD-AVX12
User Manual
-
 JVC KD-AVX2
User Manual
JVC KD-AVX2
User Manual
-
JVC KD-AVX2
Manual
-
 JVC KD-AVX20
User Manual
JVC KD-AVX20
User Manual
-
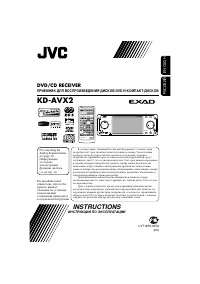
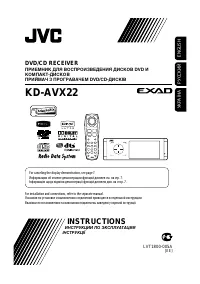 JVC KD-AVX22
User Manual
JVC KD-AVX22
User Manual
-
JVC KD-AVX22
Manual
-
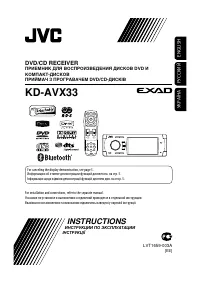 JVC KD-AVX33
User Manual
JVC KD-AVX33
User Manual
-
JVC KD-AVX33
Manual
-
 JVC KD-AVX40
User Manual
JVC KD-AVX40
User Manual
-
JVC KD-AVX40
Manual
-
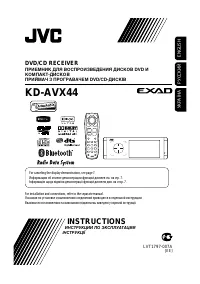 JVC KD-AVX44
User Manual
JVC KD-AVX44
User Manual
-
 JVC KD-AVX55
User Manual
JVC KD-AVX55
User Manual
-
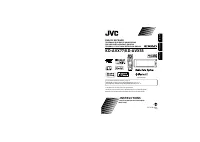
 JVC KD-AVX77
User Manual
JVC KD-AVX77
User Manual
-
JVC KD-AVX77
Manual
-
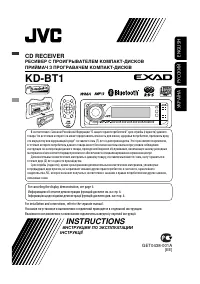 JVC KD-BT1
User Manual
JVC KD-BT1
User Manual