JVC KD-R301 - Manuals
JVC KD-R301 Car Radio – Manual in PDF format online.
Manuals:
Manual JVC KD-R301


Summary
ENGLISH 3 How to reset your unit • Your preset adjustments will also be erased. How to forcibly eject a disc • Be careful not to drop the disc when it ejects. • If this does not work, reset your unit. CONTENTS OPERATIONS Basic operations ........................................... 4Preparation ........
ENGLISH 4 Basic operations 8 Eject disc. 9 • Activate/deactivate TA Standby Reception. • Enter PTY Searching mode [Hold]. p Detach the panel. q Change the display information. w • FM/AM : Search for station. • CD : Select track. e Return to the previous menu. r AUX (auxiliary) input jack * 1 You can...
ENGLISH 6 Preparation Cancel the display demonstration and set the clock • See also page 13. 1 Turn on the power. 2 [Turn] = [Press] Cancel the display demonstrations Select “ DEMO ,” then “ DEMO OFF .” Set the clock Select “ CLOCK ” = “ CLOCK SET .” Adjust the hour, then press control dial once to ...
JVC Car Radios Manuals
-
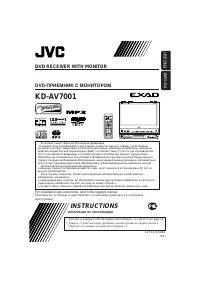 JVC KD-AV7001
User Manual
JVC KD-AV7001
User Manual
-
JVC KD-AV7001
Manual
-
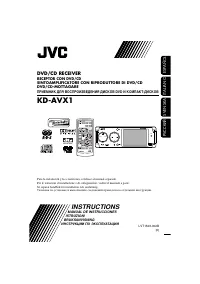 JVC KD-AVX1
Manual
JVC KD-AVX1
Manual
-
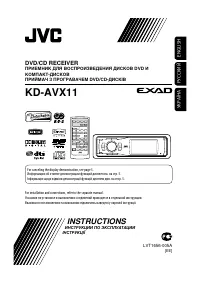 JVC KD-AVX11
User Manual
JVC KD-AVX11
User Manual
-
JVC KD-AVX11
Manual
-
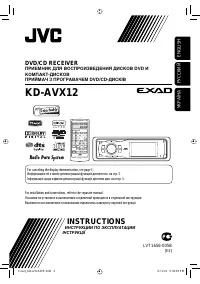 JVC KD-AVX12
User Manual
JVC KD-AVX12
User Manual
-
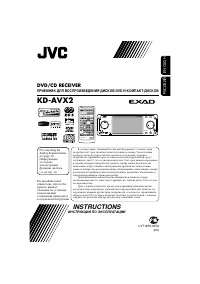 JVC KD-AVX2
User Manual
JVC KD-AVX2
User Manual
-
JVC KD-AVX2
Manual
-
 JVC KD-AVX20
User Manual
JVC KD-AVX20
User Manual
-
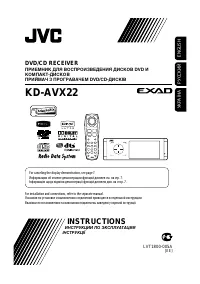 JVC KD-AVX22
User Manual
JVC KD-AVX22
User Manual
-
JVC KD-AVX22
Manual
-
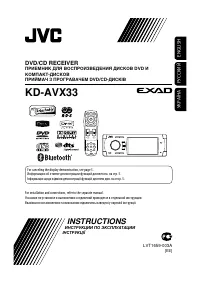 JVC KD-AVX33
User Manual
JVC KD-AVX33
User Manual
-
JVC KD-AVX33
Manual
-
 JVC KD-AVX40
User Manual
JVC KD-AVX40
User Manual
-
JVC KD-AVX40
Manual
-
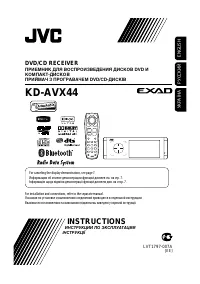 JVC KD-AVX44
User Manual
JVC KD-AVX44
User Manual
-
 JVC KD-AVX55
User Manual
JVC KD-AVX55
User Manual
-
 JVC KD-AVX77
User Manual
JVC KD-AVX77
User Manual
-
JVC KD-AVX77
Manual
-
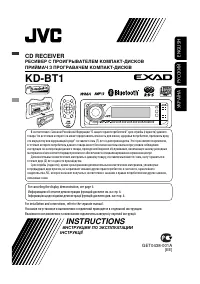 JVC KD-BT1
User Manual
JVC KD-BT1
User Manual