JVC KD-G645 - Manuals
JVC KD-G645 Car Radio – Manual in PDF format online.
Manuals:
Manual JVC KD-G645


Summary
2 ENGLISH Thank you for purchasing a JVC product. Please read all instructions carefully before operation, to ensure your complete understanding and to obtain the best possible performance from the unit. IMPORTANT FOR LASER PRODUCTS 1. CLASS 1 LASER PRODUCT2. CAUTION: Do not open the top cover. Ther...
ENGLISH 3 How to use the M MODE button If you press M MODE, the unit goes into functions mode, then the number buttons and 5 / ∞ buttons will work as different function buttons. Ex.: When number button 2 works as MO (monaural) button. To use these buttons for their original functions again after pre...
4 ENGLISH Parts identification Display window Control panel — KD-G646/KD-G645 1 5 (up) / ∞ (down) buttons 2 0 (eject) button 3 (standby/on attenuator) button 4 Control dial 5 Remote sensor DO NOT expose the remote sensor to strong light (direct sunlight or artificial lighting). 6 BAND button 7 Loadi...
JVC Car Radios Manuals
-
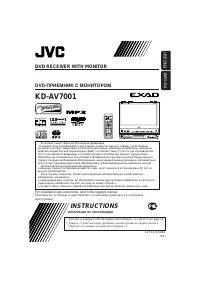 JVC KD-AV7001
User Manual
JVC KD-AV7001
User Manual
-
JVC KD-AV7001
Manual
-
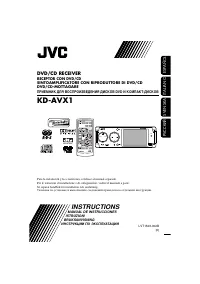 JVC KD-AVX1
Manual
JVC KD-AVX1
Manual
-
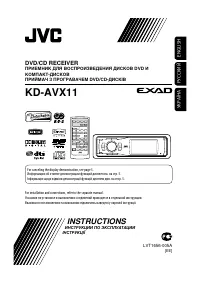 JVC KD-AVX11
User Manual
JVC KD-AVX11
User Manual
-
JVC KD-AVX11
Manual
-
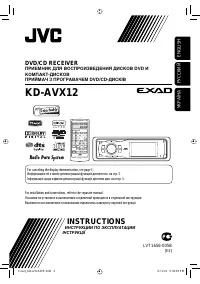 JVC KD-AVX12
User Manual
JVC KD-AVX12
User Manual
-
 JVC KD-AVX2
User Manual
JVC KD-AVX2
User Manual
-
JVC KD-AVX2
Manual
-
 JVC KD-AVX20
User Manual
JVC KD-AVX20
User Manual
-
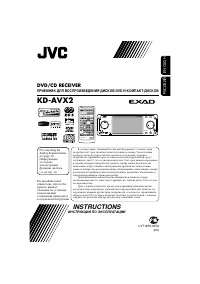
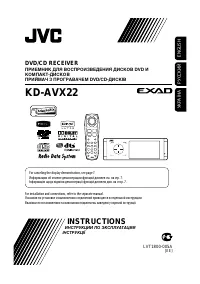 JVC KD-AVX22
User Manual
JVC KD-AVX22
User Manual
-
JVC KD-AVX22
Manual
-
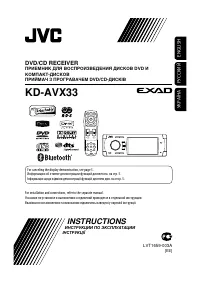 JVC KD-AVX33
User Manual
JVC KD-AVX33
User Manual
-
JVC KD-AVX33
Manual
-
 JVC KD-AVX40
User Manual
JVC KD-AVX40
User Manual
-
JVC KD-AVX40
Manual
-
 JVC KD-AVX44
User Manual
JVC KD-AVX44
User Manual
-
 JVC KD-AVX55
User Manual
JVC KD-AVX55
User Manual
-
 JVC KD-AVX77
User Manual
JVC KD-AVX77
User Manual
-
JVC KD-AVX77
Manual
-
 JVC KD-BT1
User Manual
JVC KD-BT1
User Manual