JVC GZ-MS230 - Manuals
JVC GZ-MS230 Video Camera – Manual in PDF format online.
Manuals:
Manual JVC GZ-MS230


Summary
Safety Precautions . . WARNING: TO PREVENT FIRE OR SHOCKHAZARD, DO NOT EXPOSE THIS UNIT TORAIN OR MOISTURE. CAUTIONS: • If you not i ce s m oke or a pecul i ar s m ell co mi ng fro m the ca m corder or AC Adapter, shut i t down and unplug i t imm ed i ately . Cont i nue us i ng the ca m corder or AC...
Index Safety Precautions .............................. 2Index ................................................... 4Verifying the Accessories .................... 4Names of Parts and Functions ............ 5 ▶ Getting Started .......................... 6 Charging the Battery Pack .................. ...
Names of Parts and Functions . AV p o q 123 45 6 78 9 0a d c b f e i k j h g n m l A Lens/Lens Cover B Light C Stereo Microphone D LCD MonitorTurns the power on/off by opening andclosing. E SliderSelects an image or item. F OK ButtonConfirms the selected image or item. G Operation ButtonsFunctions d...
JVC Video Cameras Manuals
-
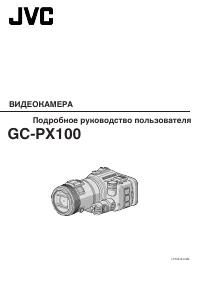 JVC GC-PX100
Manual
JVC GC-PX100
Manual
-
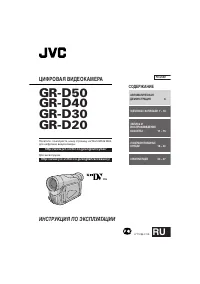 JVC GR-D20
Manual
JVC GR-D20
Manual
-
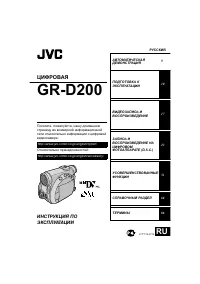 JVC GR-D200
User Manual
JVC GR-D200
User Manual
-
JVC GR-D200
Manual
-
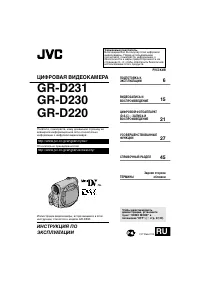 JVC GR-D220
Manual
JVC GR-D220
Manual
-
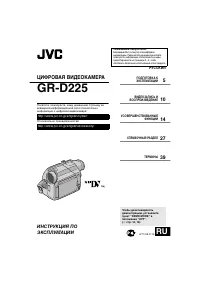 JVC GR-D225
Manual
JVC GR-D225
Manual
-
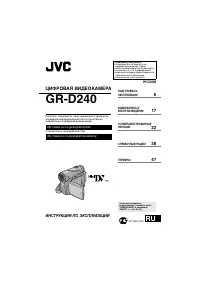 JVC GR-D240
Manual
JVC GR-D240
Manual
-
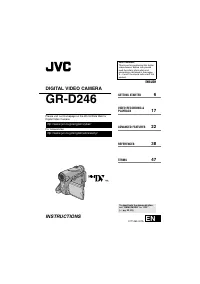 JVC GR-D246
User Manual
JVC GR-D246
User Manual
-
JVC GR-D246
Manual
-
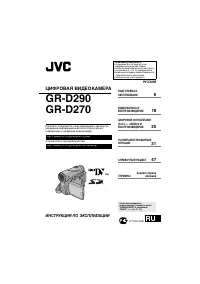 JVC GR-D290
Manual
JVC GR-D290
Manual
-
JVC GR-D30
Manual
-
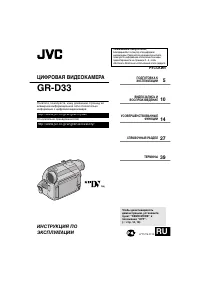 JVC GR-D33
Manual
JVC GR-D33
Manual
-
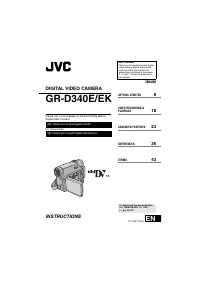 JVC GR-D340EK
User Manual
JVC GR-D340EK
User Manual
-
JVC GR-D40
Manual
-
JVC GR-D50
Manual
-
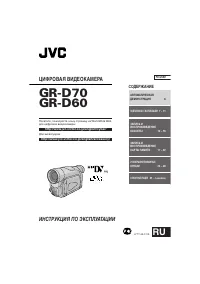
 JVC GR-D70
Manual
JVC GR-D70
Manual
-
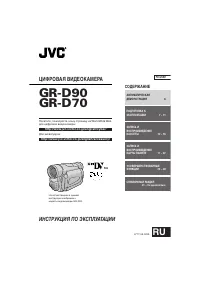
 JVC GR-D90
Manual
JVC GR-D90
Manual
-
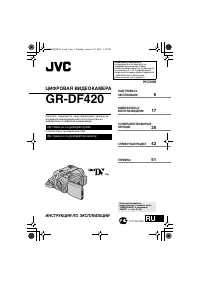 JVC GR-DF420
Manual
JVC GR-DF420
Manual
-
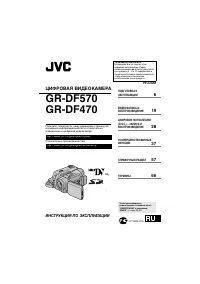 JVC GR-DF470
Manual
JVC GR-DF470
Manual
-
 JVC GR-DF570
Manual
JVC GR-DF570
Manual