JVC GR-SXM480A - Manuals
JVC GR-SXM480A Video Camera – Manual in PDF format online.
Manuals:
Manual JVC GR-SXM480A


Summary
2 PROVIDED ACCESSORIES • Battery Pack BN-V11U(GR-SXM780A/SXM480A/SXM280A/SXM180A/SX140A)BN-V20U(GR-SXM78EA/SXM48EA) • PC Connection Cable (GR-SXM78EA/SXM780Aonly) • Shoulder Strap • CD-ROM (GR-SXM78EA/SXM780A only) • Lens Cap • Power Cord • A/V (Audio/Video) Cable • Remote Control Unit RM-V715U(GR-S...
3 SAFETY PRECAUTIONS PRECAUTIONS WARNING:TO PREVENT FIRE OR SHOCKHAZARD, DO NOT EXPOSETHIS UNIT TO RAIN ORMOISTURE. CAUTIONS • If you notice smoke or a peculiar smell coming from the camcorder or AC adapter, shut it downand unplug it immediately. Continue using thecamcorder or AC adapter under these...
4 When the equipment is installed in a cabinet or on a shelf, make sure that it has sufficient spaceon all sides to allow for ventilation (10 cm or more on both sides, on top and at the rear). Do not block the ventilation holes.(If the ventilation holes are blocked by a newspaper, or cloth etc. the ...
JVC Video Cameras Manuals
-
 JVC GC-PX100
Manual
JVC GC-PX100
Manual
-
 JVC GR-D20
Manual
JVC GR-D20
Manual
-
 JVC GR-D200
User Manual
JVC GR-D200
User Manual
-
JVC GR-D200
Manual
-
 JVC GR-D220
Manual
JVC GR-D220
Manual
-
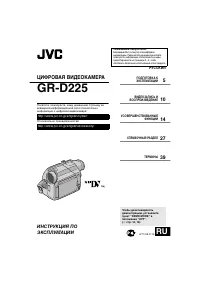 JVC GR-D225
Manual
JVC GR-D225
Manual
-
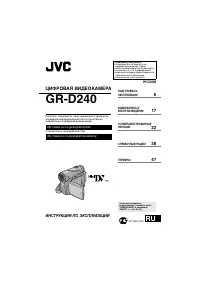 JVC GR-D240
Manual
JVC GR-D240
Manual
-
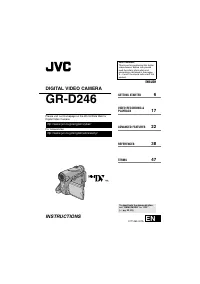 JVC GR-D246
User Manual
JVC GR-D246
User Manual
-
JVC GR-D246
Manual
-
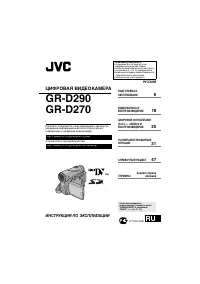 JVC GR-D290
Manual
JVC GR-D290
Manual
-
JVC GR-D30
Manual
-
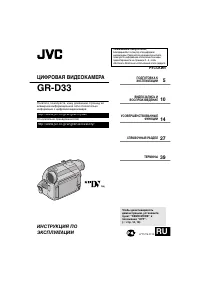 JVC GR-D33
Manual
JVC GR-D33
Manual
-
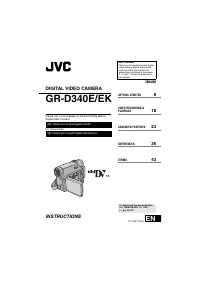 JVC GR-D340EK
User Manual
JVC GR-D340EK
User Manual
-
JVC GR-D40
Manual
-
JVC GR-D50
Manual
-
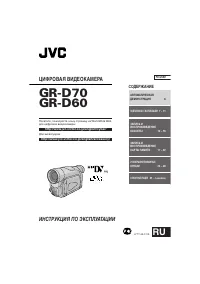
 JVC GR-D70
Manual
JVC GR-D70
Manual
-
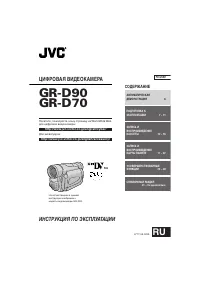
 JVC GR-D90
Manual
JVC GR-D90
Manual
-
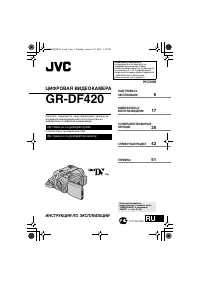 JVC GR-DF420
Manual
JVC GR-DF420
Manual
-
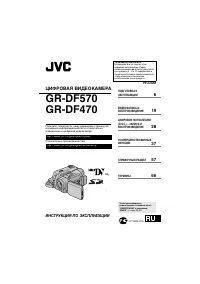 JVC GR-DF470
Manual
JVC GR-DF470
Manual
-
 JVC GR-DF570
Manual
JVC GR-DF570
Manual