JVC GR-SX37ED - Manuals
JVC GR-SX37ED Video Camera – Manual in PDF format online.
Manuals:
Manual JVC GR-SX37ED


Summary
2 PROVIDED ACCESSORIES • Battery Pack BN-V11U(GR-SX37ED)BN-V20U(GR-SXM87ED/SXM67ED) • Shoulder Strap • Lens Cap • Power Cord • A/V (Audio/Video) Cable • Remote Control Unit RM-V715U(GR-SXM87ED only) • AAA (R03) Battery x 2 (for Remote Control Unit,GR-SXM87ED only) • Cassette Adapter C-P7U • AA (R6) ...
3 SAFETY PRECAUTIONS PRECAUTIONS WARNING:TO PREVENT FIRE OR SHOCKHAZARD, DO NOT EXPOSETHIS UNIT TO RAIN ORMOISTURE. CAUTIONS • If you notice smoke or a peculiar smell coming from the camcorder or AC adapter, shut it downand unplug it immediately. Continue using thecamcorder or AC adapter under these...
5 INDEX A AC Adapter ................................................................. pg. 6Animation Recording .......................................... pg. 21, 25Audio Dubbing ......................................................... pg. 25Auto Date Record ...........................................
JVC Video Cameras Manuals
-
 JVC GC-PX100
Manual
JVC GC-PX100
Manual
-
 JVC GR-D20
Manual
JVC GR-D20
Manual
-
 JVC GR-D200
User Manual
JVC GR-D200
User Manual
-
JVC GR-D200
Manual
-
 JVC GR-D220
Manual
JVC GR-D220
Manual
-
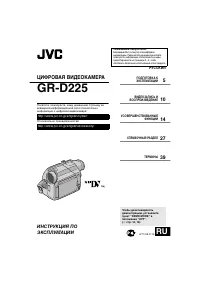 JVC GR-D225
Manual
JVC GR-D225
Manual
-
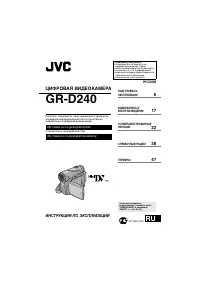 JVC GR-D240
Manual
JVC GR-D240
Manual
-
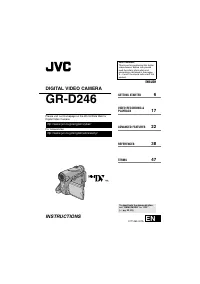 JVC GR-D246
User Manual
JVC GR-D246
User Manual
-
JVC GR-D246
Manual
-
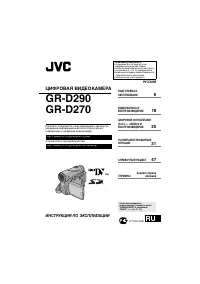 JVC GR-D290
Manual
JVC GR-D290
Manual
-
JVC GR-D30
Manual
-
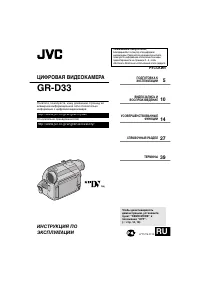 JVC GR-D33
Manual
JVC GR-D33
Manual
-
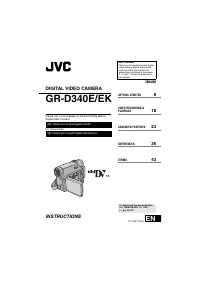 JVC GR-D340EK
User Manual
JVC GR-D340EK
User Manual
-
JVC GR-D40
Manual
-
JVC GR-D50
Manual
-
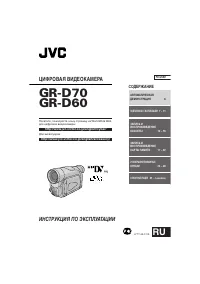
 JVC GR-D70
Manual
JVC GR-D70
Manual
-
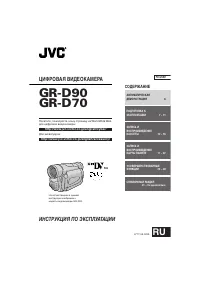
 JVC GR-D90
Manual
JVC GR-D90
Manual
-
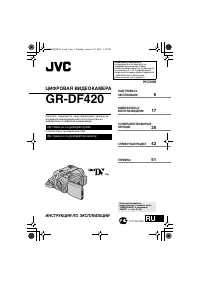 JVC GR-DF420
Manual
JVC GR-DF420
Manual
-
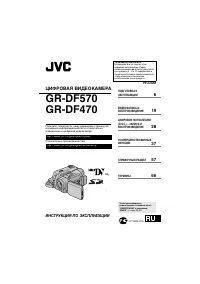 JVC GR-DF470
Manual
JVC GR-DF470
Manual
-
 JVC GR-DF570
Manual
JVC GR-DF570
Manual