JVC GR-SX24 - Manuals
JVC GR-SX24 Video Camera – Manual in PDF format online.
Manuals:
Manual JVC GR-SX24


Summary
2 PROVIDED ACCESSORIES AP-V12EG, AP-V11EG or AP-V10EG • Battery Pack BN-V11U(GR-SXM48/FXM383/FXM38/SX24/FX14)BN-V20U(GR-SXM58) • Cable Adapter • PC Connection Cable (GR-SXM58 only) • Shoulder Strap • CD-ROM (GR-SXM58 only) • Lens Cap • Power Cord • A/V (Audio/Video) Cable • S-Video Cable (GR-SXM58/S...
3 SAFETY PRECAUTIONS PRECAUTIONS WARNING:TO PREVENT FIRE OR SHOCKHAZARD, DO NOT EXPOSETHIS UNIT TO RAIN ORMOISTURE. CAUTIONS • To prevent shock, do not open the cabinet. No user serviceable parts inside. Refer servicing toqualified personnel. • When you are not using the AC Adapter for a long period...
5 INDEX A AC Adapter ................................................................. pg. 6Animation Recording ................................................ pg. 21Auto Date Record .................................................... pg. 19Auto Focus .................................................
JVC Video Cameras Manuals
-
 JVC GC-PX100
Manual
JVC GC-PX100
Manual
-
 JVC GR-D20
Manual
JVC GR-D20
Manual
-
 JVC GR-D200
User Manual
JVC GR-D200
User Manual
-
JVC GR-D200
Manual
-
 JVC GR-D220
Manual
JVC GR-D220
Manual
-
 JVC GR-D225
Manual
JVC GR-D225
Manual
-
 JVC GR-D240
Manual
JVC GR-D240
Manual
-
 JVC GR-D246
User Manual
JVC GR-D246
User Manual
-
JVC GR-D246
Manual
-
 JVC GR-D290
Manual
JVC GR-D290
Manual
-
JVC GR-D30
Manual
-
 JVC GR-D33
Manual
JVC GR-D33
Manual
-
 JVC GR-D340EK
User Manual
JVC GR-D340EK
User Manual
-
JVC GR-D40
Manual
-
JVC GR-D50
Manual
-
 JVC GR-D70
Manual
JVC GR-D70
Manual
-
 JVC GR-D90
Manual
JVC GR-D90
Manual
-
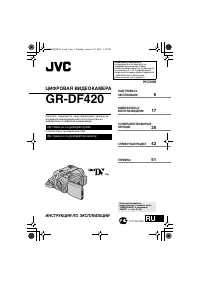 JVC GR-DF420
Manual
JVC GR-DF420
Manual
-
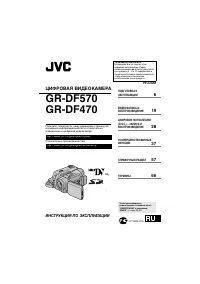 JVC GR-DF470
Manual
JVC GR-DF470
Manual
-
 JVC GR-DF570
Manual
JVC GR-DF570
Manual