JVC GR-FX17 - Manuals
JVC GR-FX17 Video Camera – Manual in PDF format online.
Manuals:
Manual JVC GR-FX17


Summary
2 PROVIDED ACCESSORIES • Battery Packs BN-V12U, BN-V20U, BN- V400U • Compact VHS ( ) Cassettes EC-60/ 45/30 • Active Carrying Bag CB-V7U• Cassette Adapter C-P8U Connection to the mains supply in the United Kingdom.DO NOT cut off the mains plug from this equipment. If the plug fitted is not suitable ...
3 SAFETY PRECAUTIONS • This camcorder is designed to be used with PAL-type colourtelevision signals. It cannot be used for playback with atelevision of a different standard. However, live recordingand LCD monitor*/ viewfinder playback are possibleanywhere. • Use the JVC BN-V10U/ V12U/ V20U/ V400U ba...
4 GETTING STARTED CONTROLS, CONNECTORS AND INDICATORS 1 R 2 B 2 E 5 5 R 0 C M . I M I C 1 G I S N O 2 H NP N . T G 0 R 4 — P A A T — U U — S L — E A — T — I 1 — O 1 — N : 1 S 4 — T + M / 5 — 3 0 W 2 : — 0 2 B S 1 8 + 1 X b a T V B O C L UME — ———— — — 1 : — S 2 — P 3 — : — 4 A — 5T + 90¡ 180 1 2 3 4...
JVC Video Cameras Manuals
-
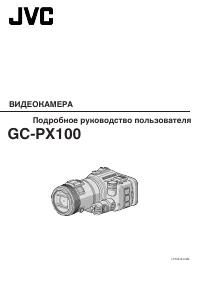 JVC GC-PX100
Manual
JVC GC-PX100
Manual
-
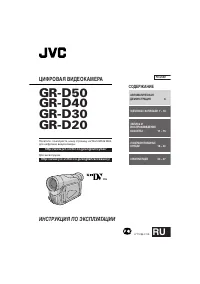 JVC GR-D20
Manual
JVC GR-D20
Manual
-
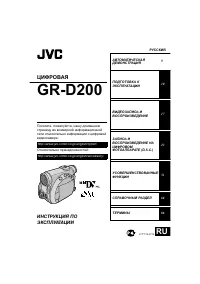 JVC GR-D200
User Manual
JVC GR-D200
User Manual
-
JVC GR-D200
Manual
-
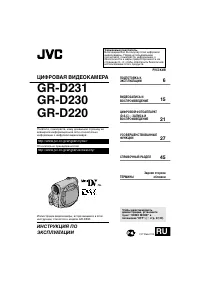 JVC GR-D220
Manual
JVC GR-D220
Manual
-
 JVC GR-D225
Manual
JVC GR-D225
Manual
-
 JVC GR-D240
Manual
JVC GR-D240
Manual
-
 JVC GR-D246
User Manual
JVC GR-D246
User Manual
-
JVC GR-D246
Manual
-
 JVC GR-D290
Manual
JVC GR-D290
Manual
-
JVC GR-D30
Manual
-
 JVC GR-D33
Manual
JVC GR-D33
Manual
-
 JVC GR-D340EK
User Manual
JVC GR-D340EK
User Manual
-
JVC GR-D40
Manual
-
JVC GR-D50
Manual
-
 JVC GR-D70
Manual
JVC GR-D70
Manual
-
 JVC GR-D90
Manual
JVC GR-D90
Manual
-
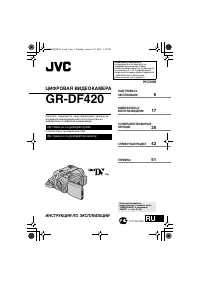 JVC GR-DF420
Manual
JVC GR-DF420
Manual
-
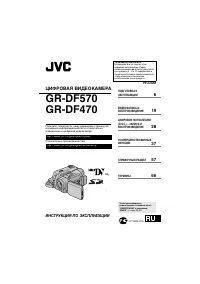 JVC GR-DF470
Manual
JVC GR-DF470
Manual
-
 JVC GR-DF570
Manual
JVC GR-DF570
Manual