JVC GR-D225 - Manuals
JVC GR-D225 Video Camera – Manual in PDF format online.
Manuals:
Manual JVC GR-D225


Summary
2 EN MasterPage: Safety_Left SAFETY PRECAUTIONS IMPORTANT (for owners in the U.K.) Connection to the mains supply in the United Kingdom.DO NOT cut off the mains plug from this equipment. If the plug fitted is not suitable for the power points in your home or the cable is too shor t to reach a power ...
EN 3 MasterPage: Safety_Right SOME DO’S AND DON’TS ON THE SAFE USE OF EQUIPMENT This equipment has been designed and manufactured to meet international safety standards but, like any electrical equipment, care must be taken if you are to obtain the best results and safety is to be assured. DO read t...
4 EN MasterPage: Heading0_Left CONTENTS GETTING STARTED 5 Provided Accessories ....................................................5Power .............................................................................6Grip Adjustment .............................................................7Operat...
JVC Video Cameras Manuals
-
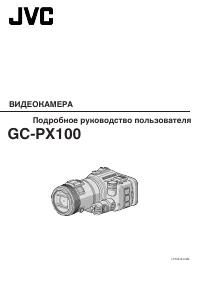 JVC GC-PX100
Manual
JVC GC-PX100
Manual
-
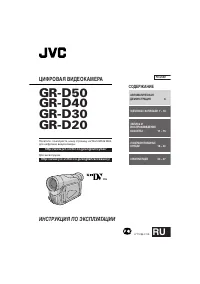 JVC GR-D20
Manual
JVC GR-D20
Manual
-
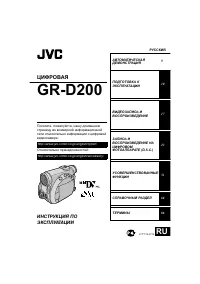 JVC GR-D200
User Manual
JVC GR-D200
User Manual
-
JVC GR-D200
Manual
-
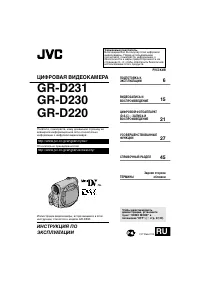 JVC GR-D220
Manual
JVC GR-D220
Manual
-
 JVC GR-D240
Manual
JVC GR-D240
Manual
-
 JVC GR-D246
User Manual
JVC GR-D246
User Manual
-
JVC GR-D246
Manual
-
 JVC GR-D290
Manual
JVC GR-D290
Manual
-
JVC GR-D30
Manual
-
 JVC GR-D33
Manual
JVC GR-D33
Manual
-
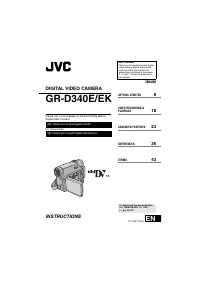 JVC GR-D340EK
User Manual
JVC GR-D340EK
User Manual
-
JVC GR-D40
Manual
-
JVC GR-D50
Manual
-
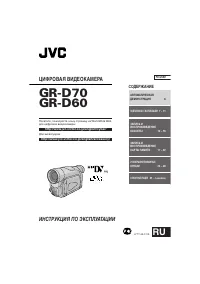
 JVC GR-D70
Manual
JVC GR-D70
Manual
-
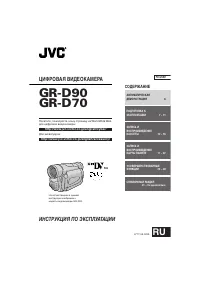
 JVC GR-D90
Manual
JVC GR-D90
Manual
-
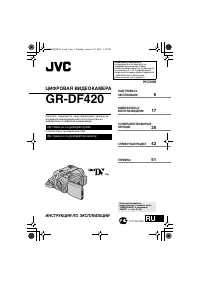 JVC GR-DF420
Manual
JVC GR-DF420
Manual
-
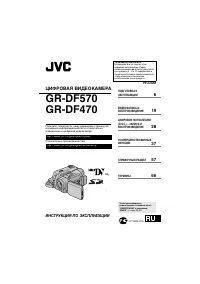 JVC GR-DF470
Manual
JVC GR-DF470
Manual
-
 JVC GR-DF570
Manual
JVC GR-DF570
Manual
-
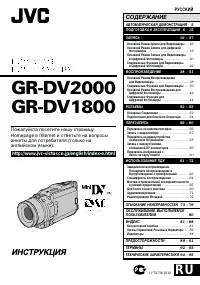 JVC GR-DV1800
Manual
JVC GR-DV1800
Manual