Impecca M-RM4152STG1974 - Manuals
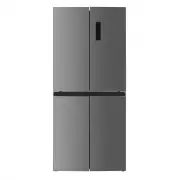
User Manual Impecca M-RM4152STG1974
1

2

3

4

5

6

7

8

9

10

11

12

13

14

15

16

17

18

19

20

21

22

23

Summary
Page 2 - Unit Overview
4 LED Light Refrigerator Shelves Crisper Cover Chiller Zone Sliding Tray Leveling Feet Freezer Drawer Door Balcony Crisper Zone Unit Overview
Page 3 - WARNING; What you need to know about Safety; This symbol indicates that hazards or unsafe; State of California Proposition 65; The California Safe Drinking Water and Toxic; Precautions; Risk of fire or electric shock; To reduce the risk of fire or electric
5 WARNING What you need to know about Safety Instructions: Warnings and Important Safety Instructions in this manual DO NOT cover all possible conditions and situations that may occur. It is your responsibility to use common sense, caution and care when installing, maintaining and operating this app...
Page 4 - To reduce the risk of fire, electric shock, burns; Keep ventilation openings, in the appliance; Do not use mechanical devices or other; Do not damage the refrigerant circuit.
6 IMPORTANT SAFET Y & PRECAUTIONS WARNING To reduce the risk of fire, electric shock, burns or injury to people when using the refrigerator, follow basic precautions, including the following: • Read all instructions before using this appliance. • Plug into a grounded 3 prong outlet. • DO NOT remo...
Impecca Refrigerators Manuals
-
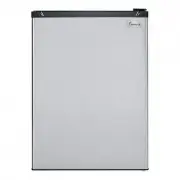
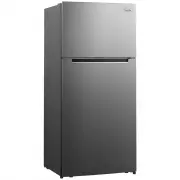 Impecca MRA2170STGD2974
User Manual
Impecca MRA2170STGD2974
User Manual
-
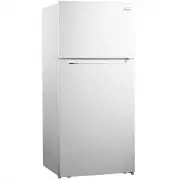 Impecca M-RA2170WD2-974
User Manual
Impecca M-RA2170WD2-974
User Manual
-
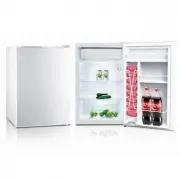
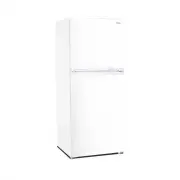 Impecca RA-2120W
User Manual
Impecca RA-2120W
User Manual
-
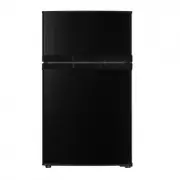
 Impecca RC-1176K
User Manual
Impecca RC-1176K
User Manual
-
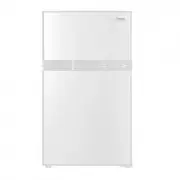
 Impecca RC-1335K
User Manual
Impecca RC-1335K
User Manual
-
 Impecca RC-1335SL
User Manual
Impecca RC-1335SL
User Manual
-
 Impecca RC-1335W
User Manual
Impecca RC-1335W
User Manual
-
 Impecca RC-1590ST
User Manual
Impecca RC-1590ST
User Manual
-
 Impecca RC-1590W
User Manual
Impecca RC-1590W
User Manual
-
 Impecca RC-2311K
User Manual
Impecca RC-2311K
User Manual
-
 Impecca RC-2311SL
User Manual
Impecca RC-2311SL
User Manual
-
 Impecca RC-2311W
User Manual
Impecca RC-2311W
User Manual