Hyundai H-CMD7075 - Manuals
Hyundai H-CMD7075 Car Radio – User Manual, Manual in PDF format online.
Manuals:
User Manual Hyundai H-CMD7075


Summary
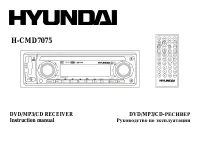
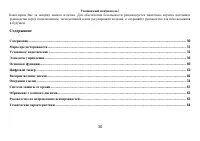
2 Dear customer! Thank you for purchasing our product. For safety, it is strongly recommended to read this manual carefully before connecting,operating and/or adjusting the product and keep the manual for reference in the future. Table of contents Table of contents .....................................
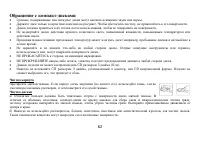
3 IMPORTANT SAFEGUARDS Using the device at temperature below -10º may cause the breakage of the device. BEFORE USING PLEASE HEAT UP THEPASSENGER COMPARTMENT TO THE RECOMMENDED TEMPERATURE! Read carefully through this manual to familiarize you with this high-quality sound system.Disconnect the vehicl...
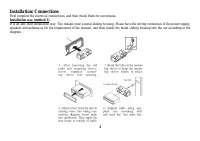
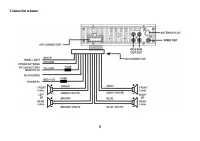
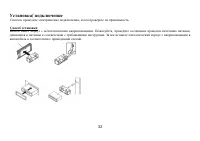
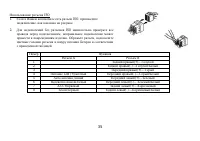
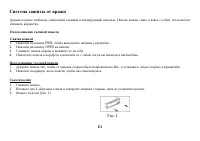
4 Installation/ Connections First complete the electrical connections, and then check them for correctness. Installation way (method 1) It is an anti-theft installation way. The chassis wear a metal sliding housing. Please have the wiring connection of the power supply,speakers and antenna as for th...
Manual Hyundai H-CMD7075


Summary
2 Dear customer! Thank you for purchasing our product. For safety, it is strongly recommended to read this manual carefully before connecting,operating and/or adjusting the product and keep the manual for reference in the future. Table of contents Table of contents .....................................
3 IMPORTANT SAFEGUARDS Using the device at temperature below -10º may cause the breakage of the device. BEFORE USING PLEASE HEAT UP THEPASSENGER COMPARTMENT TO THE RECOMMENDED TEMPERATURE! Read carefully through this manual to familiarize you with this high-quality sound system.Disconnect the vehicl...
4 Installation/ Connections First complete the electrical connections, and then check them for correctness. Installation way (method 1) It is an anti-theft installation way. The chassis wear a metal sliding housing. Please have the wiring connection of the power supply,speakers and antenna as for th...
Hyundai Car Radios Manuals
-
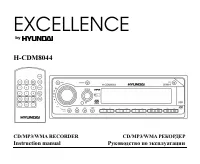 Hyundai CDM8044
User Manual
Hyundai CDM8044
User Manual
-
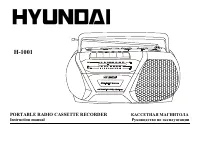 Hyundai H-1001
User Manual
Hyundai H-1001
User Manual
-
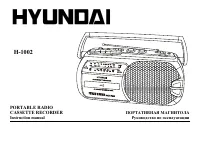 Hyundai H-1002
User Manual
Hyundai H-1002
User Manual
-
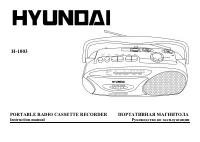 Hyundai H-1003
User Manual
Hyundai H-1003
User Manual
-
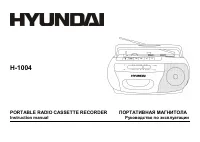 Hyundai H-1004
User Manual
Hyundai H-1004
User Manual
-
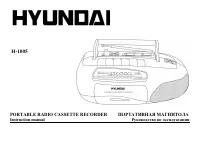 Hyundai H-1005
User Manual
Hyundai H-1005
User Manual
-
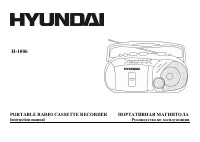 Hyundai H-1006
User Manual
Hyundai H-1006
User Manual
-
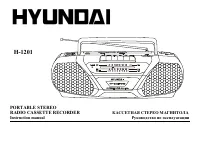 Hyundai H-1201
User Manual
Hyundai H-1201
User Manual
-
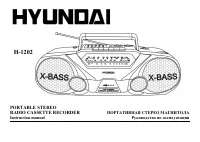 Hyundai H-1202
User Manual
Hyundai H-1202
User Manual
-
 Hyundai H-1203
User Manual
Hyundai H-1203
User Manual
-
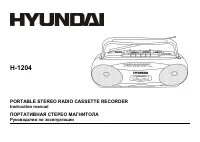 Hyundai H-1204
User Manual
Hyundai H-1204
User Manual
-
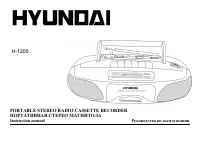 Hyundai H-1205
User Manual
Hyundai H-1205
User Manual
-
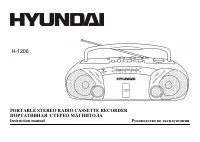 Hyundai H-1206
User Manual
Hyundai H-1206
User Manual
-
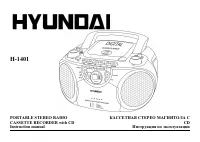 Hyundai H-1401
User Manual
Hyundai H-1401
User Manual
-
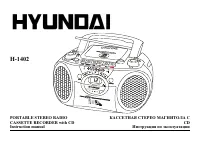 Hyundai H-1402
User Manual
Hyundai H-1402
User Manual
-
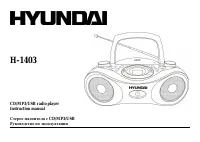
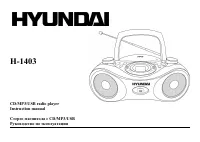 Hyundai H-1403
User Manual
Hyundai H-1403
User Manual
-
 Hyundai H-1403 White
User Manual
Hyundai H-1403 White
User Manual
-
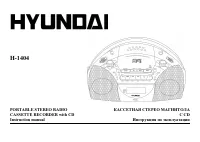 Hyundai H-1404
User Manual
Hyundai H-1404
User Manual
-
 Hyundai H-1405
User Manual
Hyundai H-1405
User Manual
-
 Hyundai H-1406
User Manual
Hyundai H-1406
User Manual