Gasmate BQ1085 - Manuals
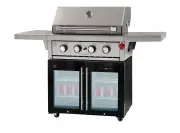
User Manual Gasmate BQ1085


Summary
3 2 Gas Installation Codes • Barbecues must be used in accordance with the installation requirements of your gas supply authority, or the Australian Standard AS 5601.• Barbecues for use with bottled gas are labelled ‘propane gas’.• Barbecues for use with natural gas are labelled ‘natural gas’ and mu...
3 2 Do not connect your barbecue to a gas cylinder exceeding 9kg capacity. Never connect an unregulated gas cylinder to your barbecue. Read carefully before assembling and operating your barbecue. • Do not store or use petrol or other flammable liquids in the vicinity of this or any other appliance....
5 4 Nominal Hourly Gas Consumption Model No. BQ1084 CBU-200 (B) Gas Type Number of BBQ Burners Injector Size Main Burners Total Gas Consumption MJ/h Gas Pressure kPa Propane 2 Ø 0.98mm 23.2 MJ/h 2.75 kPa MJ/h each 11.6 MJ/h Natural Gas 2 Ø 1.5mm 24 MJ/h 1.0 kPa MJ/h each 12 MJ/h GENERAL ASSEMBLY Con...
Gasmate BBQs Manuals
-
 Gasmate BQ1051
User Manual
Gasmate BQ1051
User Manual
-
 Gasmate BQ1056
User Manual
Gasmate BQ1056
User Manual
-
 Gasmate BQ1070F
User Manual
Gasmate BQ1070F
User Manual
-
 Gasmate BQ1071F
User Manual
Gasmate BQ1071F
User Manual
-
 Gasmate BQ1077
User Manual
Gasmate BQ1077
User Manual
-
 Gasmate BQ1078
User Manual
Gasmate BQ1078
User Manual
-
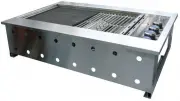
 Gasmate BQ1084
User Manual
Gasmate BQ1084
User Manual
-
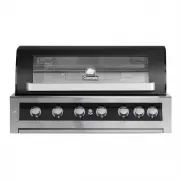
 Gasmate BQ1090B
User Manual
Gasmate BQ1090B
User Manual
-
 Gasmate BQ1090BNG
User Manual
Gasmate BQ1090BNG
User Manual
-
 Gasmate BQ1096
User Manual
Gasmate BQ1096
User Manual
-
 Gasmate BQ1096NG
User Manual
Gasmate BQ1096NG
User Manual
-
 Gasmate BQ1190BLB
User Manual
Gasmate BQ1190BLB
User Manual
-
 Gasmate BQ1190BLBNG
User Manual
Gasmate BQ1190BLBNG
User Manual
-
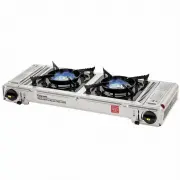 Gasmate CS6095
User Manual
Gasmate CS6095
User Manual
-
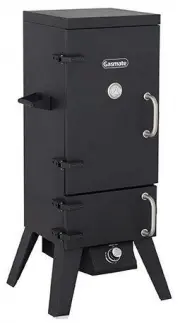 Gasmate GM160-018
User Manual
Gasmate GM160-018
User Manual