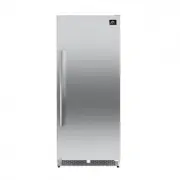
FORNO FFFFD1948-24RS - Manuals
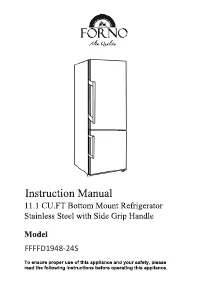
User Manual FORNO FFFFD1948-24RS


Summary
Customer Care Thank you for purchasing a FORNO product. Please read the en � re instruc � on manual before opera �n g your new appliance for the fi rst � me. Whether you are an occasional user or an expert, it will be bene fici al to familiarize yourself with the safety prac �c es, features, opera � o...
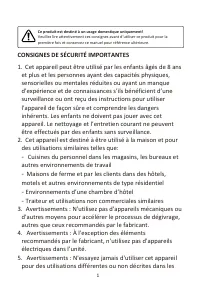
This product is for household use only! Please read these instructions carefully before the first use of this product and save this manual for your future reference. IMPORTANT SAFETY INSTRUCTIONS 1. This appliance can be used by children aged 8 years or older and persons with reduced physical, senso...
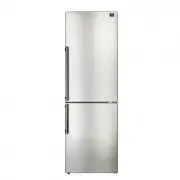
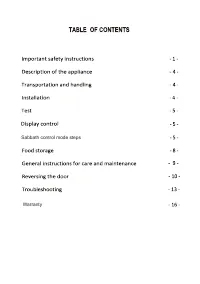
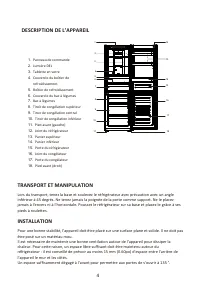
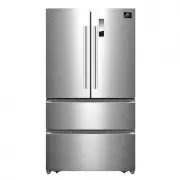
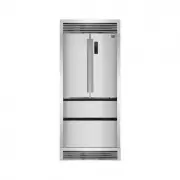
DESCRIPTION OF THE APPLIANCE 1. Control panel 2. LED light 3. Glass shelf 4. Chiller box cover 5. Chiller box 6. Vegetable box cover 7. Vegetable box 8. Upper freezer drawer 9. Middle freezer drawer 10. Lower freezer drawer 11. Leg front (left) 12. Refrigerator gasket 13. Upper rack 14. Lower rack 1...
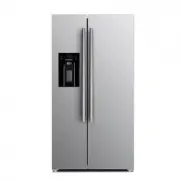
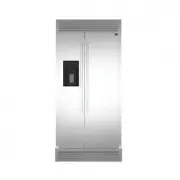
FORNO Refrigerators Manuals
-
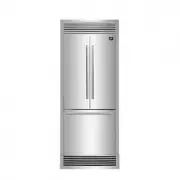
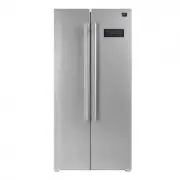
 FORNO FFFFD1722-60S
User Manual
FORNO FFFFD1722-60S
User Manual
-
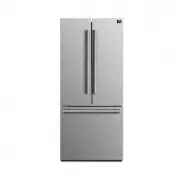
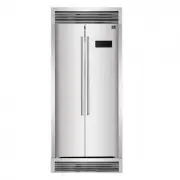
 FORNO FFFFD1907-33SB
User Manual
FORNO FFFFD1907-33SB
User Manual
-
 FORNO FFFFD1907-37SG
User Manual
FORNO FFFFD1907-37SG
User Manual
-
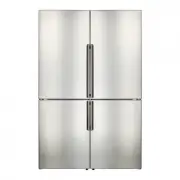
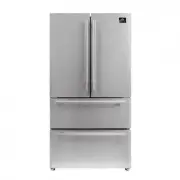
 FORNO FFFFD1933-32LS
User Manual
FORNO FFFFD1933-32LS
User Manual
-
 FORNO FFFFD1933-32RS
User Manual
FORNO FFFFD1933-32RS
User Manual
-
 FORNO FFFFD1933-60S
User Manual
FORNO FFFFD1933-60S
User Manual
-
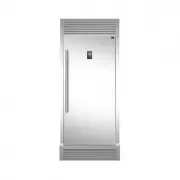
 FORNO FFFFD1948-48S
User Manual
FORNO FFFFD1948-48S
User Manual
-
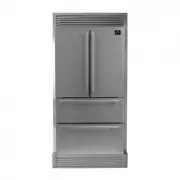
 FORNO FFFFD1974-31SB
User Manual
FORNO FFFFD1974-31SB
User Manual
-
 FORNO FFFFD1974-35SG
User Manual
FORNO FFFFD1974-35SG
User Manual
-
 FORNO FFRBI1805-33SB
User Manual
FORNO FFRBI1805-33SB
User Manual
-
 FORNO FFRBI1805-37SG
User Manual
FORNO FFRBI1805-37SG
User Manual
-
 FORNO FFRBI1820-36SB
User Manual
FORNO FFRBI1820-36SB
User Manual
-
 FORNO FFRBI1820-40SG
User Manual
FORNO FFRBI1820-40SG
User Manual
-
 FORNO FFRBI1821-30S
User Manual
FORNO FFRBI1821-30S
User Manual
-
 FORNO FFRBI1844-36SB
User Manual
FORNO FFRBI1844-36SB
User Manual
-
 FORNO FFRBI1844-40SG
User Manual
FORNO FFRBI1844-40SG
User Manual