Fisher & Paykel RF203QDUVX1 - Manuals
Fisher & Paykel RF203QDUVX1 Refrigerator – User Manual in PDF format online.
Manuals:
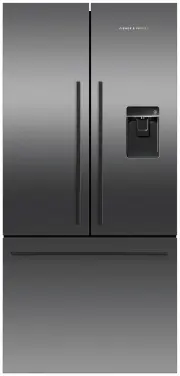
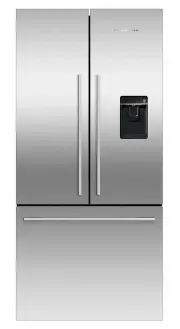
User Manual Fisher & Paykel RF203QDUVX1


Summary
1 CONTENTS IMPORTANT! SAVE THESE INSTRUCTIONS The models shown in this user guide may not be available in all markets and are subject to change at any time. For current details about model and specification availability in your country, please go to our website fisherpaykel.com or contact your local...
3 INTRODUCTION Thank you for buying a Fisher & Paykel ActiveSmart™ refrigerator. At Fisher & Paykel, we are very proud of this refrigerator. It offers a combination of size and storage space with the latest features and functions. Thousands of hours of food care research and refrigeration ex...
4 SAFETY AND WARNINGS ! WARNING! Electric Shock Hazard Read and follow the safety and warnings outlined in this user guide before operating this appliance. Failure to do so can result in death, electric shock, fire or injury to persons. ! WARNING! This appliance contains flammable refrigerant isob...
Fisher & Paykel Refrigerators Manuals
-
 Fisher & Paykel E372BRE4
User Manual
Fisher & Paykel E372BRE4
User Manual
-
 Fisher & Paykel E442BRXFDU5
User Manual
Fisher & Paykel E442BRXFDU5
User Manual
-
 Fisher & Paykel E450LXFD1
User Manual
Fisher & Paykel E450LXFD1
User Manual
-
 Fisher & Paykel RB60V18
User Manual
Fisher & Paykel RB60V18
User Manual
-
Fisher & Paykel RB60V18
Manual
-
 Fisher & Paykel RF170ADJX4
User Manual
Fisher & Paykel RF170ADJX4
User Manual
-
Fisher & Paykel RF170ADUSX4N
User Manual
-
Fisher & Paykel RF170ADX4N
User Manual
-
 Fisher & Paykel RF172GDUX1
User Manual
Fisher & Paykel RF172GDUX1
User Manual
-
Fisher & Paykel RF201ADJSX5
User Manual
-
Fisher & Paykel RF201ADX5N
User Manual
-
 Fisher & Paykel RF442BRPW6
User Manual
Fisher & Paykel RF442BRPW6
User Manual
-
 Fisher & Paykel RF442BRPX6
User Manual
Fisher & Paykel RF442BRPX6
User Manual
-
 Fisher & Paykel RF500QNUB1
User Manual
Fisher & Paykel RF500QNUB1
User Manual
-
 Fisher & Paykel RF500QNUX1
User Manual
Fisher & Paykel RF500QNUX1
User Manual
-
 Fisher & Paykel RF500QNX1
User Manual
Fisher & Paykel RF500QNX1
User Manual
-
 Fisher & Paykel RF522ADUB5
User Manual
Fisher & Paykel RF522ADUB5
User Manual
-
 Fisher & Paykel RF522ADUX5
User Manual
Fisher & Paykel RF522ADUX5
User Manual
-
 Fisher & Paykel RF522ADX5
User Manual
Fisher & Paykel RF522ADX5
User Manual
-
 Fisher & Paykel RF522BLPX6
User Manual
Fisher & Paykel RF522BLPX6
User Manual