Fisher & Paykel DH9060H1 - Manuals
User Manual Fisher & Paykel DH9060H1


Summary
3 CONTENTS Safety and warnings 4 First use 8 Setting a cycle 11 Loading suggestions 14 Dry cycles 16 Cycle settings 18 Cycle options 19 W-Fi connection and Remote Mode 21 Cleaning 23Cleaning the lint filter 24 Emptying the water tank 25 Cleaning the condenser filter 26 Troubleshooting 29Fault codes ...
4 SAFETY AND WARNINGS WARNING! Electric Shock Hazard Failure to follow this advice may result in electric shock or death. • If you are using an extension cord or a portable electrical outlet device (eg multi-socket outlet box), ensure that it is positioned so that it does not come into contact with ...
5 SAFETY AND WARNINGS READ AND SAVE THIS GUIDE WARNING! Read Safety Guide. Failure to follow all guides and rules could cause personal injury or property damage. Use this appliance only for the intended purpose as described in the user guide and installation guide of this appliance. When using this ...
Fisher & Paykel Dryers Manuals
-
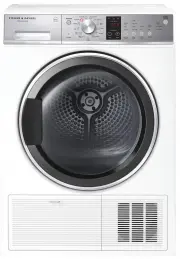 Fisher & Paykel DC8060P1
User Manual
Fisher & Paykel DC8060P1
User Manual
-
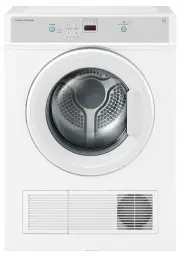
 Fisher & Paykel DE4024P2
User Manual
Fisher & Paykel DE4024P2
User Manual
-
 Fisher & Paykel DE4060M1
User Manual
Fisher & Paykel DE4060M1
User Manual
-
 Fisher & Paykel DE40F56A2
User Manual
Fisher & Paykel DE40F56A2
User Manual
-
 Fisher & Paykel DE4560M1
User Manual
Fisher & Paykel DE4560M1
User Manual
-
 Fisher & Paykel DE5060G1
User Manual
Fisher & Paykel DE5060G1
User Manual
-
 Fisher & Paykel DE5060M1
User Manual
Fisher & Paykel DE5060M1
User Manual
-
 Fisher & Paykel DE50F56A2
User Manual
Fisher & Paykel DE50F56A2
User Manual
-
 Fisher & Paykel DE50F56E1
User Manual
Fisher & Paykel DE50F56E1
User Manual
-
 Fisher & Paykel DE6060G1
User Manual
Fisher & Paykel DE6060G1
User Manual
-
 Fisher & Paykel DE6060M1
User Manual
Fisher & Paykel DE6060M1
User Manual
-
 Fisher & Paykel DE6060M2
User Manual
Fisher & Paykel DE6060M2
User Manual
-
 Fisher & Paykel DE6060P1
User Manual
Fisher & Paykel DE6060P1
User Manual
-
 Fisher & Paykel DE7060G1
User Manual
Fisher & Paykel DE7060G1
User Manual
-
 Fisher & Paykel DE7060G2
User Manual
Fisher & Paykel DE7060G2
User Manual
-
 Fisher & Paykel DE7060P1
User Manual
Fisher & Paykel DE7060P1
User Manual
-
 Fisher & Paykel DE7060P2
User Manual
Fisher & Paykel DE7060P2
User Manual
-
 Fisher & Paykel DE8060P1
User Manual
Fisher & Paykel DE8060P1
User Manual
-
 Fisher & Paykel DE8060P2
User Manual
Fisher & Paykel DE8060P2
User Manual
-
 Fisher & Paykel DE8060P3
User Manual
Fisher & Paykel DE8060P3
User Manual