Fisher & Paykel DE8060P1 - Manuals
User Manual Fisher & Paykel DE8060P1


Summary
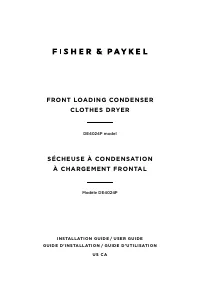
1 Important! SAVE THESE INSTRUCTIONS The models shown in this User Guide may not be available in all markets and are subject to change at any time. For current details about model and specification availability in your country, please visit our local website listed on the back cover or contact your ...
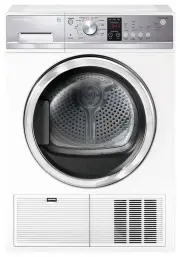
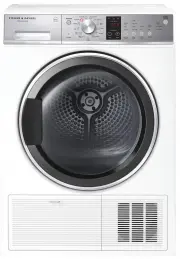
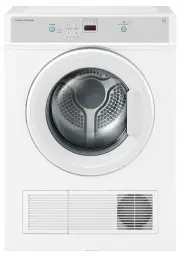
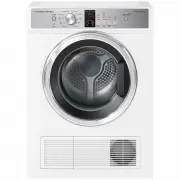
2 Introduction Welcome to AeroXL™ Thank you for purchasing a Fisher & Paykel AeroXL™ condenser dryer. Your new dryer gives you the convenience of tumble drying and your clothes the advantage of not being subjected to the harsh overdrying effects of the sun. Your clothes will feel softer, retain ...
Safety and warnings 3 WARNING! Fire Hazard Only dry fabrics that have been washed with water. Do not use heat to dry articles containing foam rubber or similarly textured rubber–like materials, dry on AIR DRY.Do not stop a tumble clothes dryer before the end of the drying cycle unless all items are ...
Fisher & Paykel Dryers Manuals
-
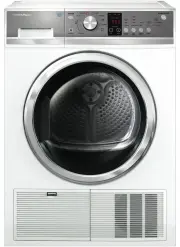
 Fisher & Paykel DC8060P1
User Manual
Fisher & Paykel DC8060P1
User Manual
-
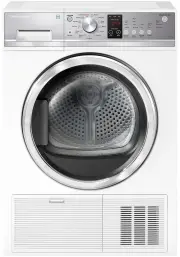
 Fisher & Paykel DE4024P2
User Manual
Fisher & Paykel DE4024P2
User Manual
-
 Fisher & Paykel DE4060M1
User Manual
Fisher & Paykel DE4060M1
User Manual
-
 Fisher & Paykel DE40F56A2
User Manual
Fisher & Paykel DE40F56A2
User Manual
-
 Fisher & Paykel DE4560M1
User Manual
Fisher & Paykel DE4560M1
User Manual
-
 Fisher & Paykel DE5060G1
User Manual
Fisher & Paykel DE5060G1
User Manual
-
 Fisher & Paykel DE5060M1
User Manual
Fisher & Paykel DE5060M1
User Manual
-
 Fisher & Paykel DE50F56A2
User Manual
Fisher & Paykel DE50F56A2
User Manual
-
 Fisher & Paykel DE50F56E1
User Manual
Fisher & Paykel DE50F56E1
User Manual
-
 Fisher & Paykel DE6060G1
User Manual
Fisher & Paykel DE6060G1
User Manual
-
 Fisher & Paykel DE6060M1
User Manual
Fisher & Paykel DE6060M1
User Manual
-
 Fisher & Paykel DE6060M2
User Manual
Fisher & Paykel DE6060M2
User Manual
-
 Fisher & Paykel DE6060P1
User Manual
Fisher & Paykel DE6060P1
User Manual
-
 Fisher & Paykel DE7060G1
User Manual
Fisher & Paykel DE7060G1
User Manual
-
 Fisher & Paykel DE7060G2
User Manual
Fisher & Paykel DE7060G2
User Manual
-
 Fisher & Paykel DE7060P1
User Manual
Fisher & Paykel DE7060P1
User Manual
-
 Fisher & Paykel DE7060P2
User Manual
Fisher & Paykel DE7060P2
User Manual
-
 Fisher & Paykel DE8060P2
User Manual
Fisher & Paykel DE8060P2
User Manual
-
 Fisher & Paykel DE8060P3
User Manual
Fisher & Paykel DE8060P3
User Manual
-
 Fisher & Paykel DH8060P1
User Manual
Fisher & Paykel DH8060P1
User Manual