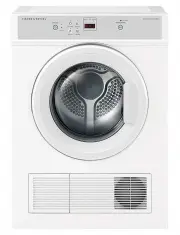
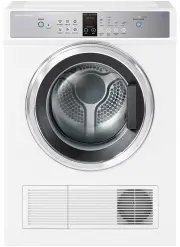
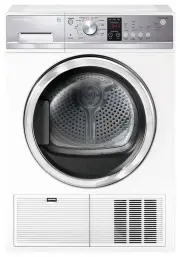
Fisher & Paykel DE50F56E1 - Manuals
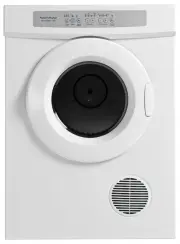
User Manual Fisher & Paykel DE50F56E1


Summary
1 Introduction 2 Safety and warnings 3 Installation instructions Installation options 5 Installation – Electronic auto-sense and Rear-vented auto-timer dryers 6 Installation – Door-vented auto-timer dryer 8 Specifications 8 Dryer wall mounting instructions 9 Before you dry Sorting and loading 11 Cle...
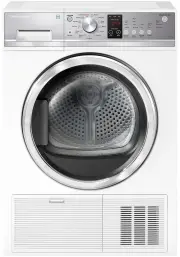
2 Congratulations on purchasing a Fisher & Paykel dryer. Your new dryer will give you the convenience of tumble drying and your clothes the advantage of not being subjected to the harsh overdrying effects of the sun. Your clothes will feel softer, retain their shape better and will require less ...
3 Safety and warnings WARNING! Fire Hazard Only dry fabrics that have been washed with water.Do not use heat to dry articles containing foam rubber or similarly textured rubber-like materials. Dry on Airing.Do not stop a tumble clothes dryer before the end of the drying cycle unless all items are re...
Fisher & Paykel Dryers Manuals
-
 Fisher & Paykel DC8060P1
User Manual
Fisher & Paykel DC8060P1
User Manual
-
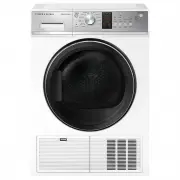
 Fisher & Paykel DE4024P2
User Manual
Fisher & Paykel DE4024P2
User Manual
-
 Fisher & Paykel DE4060M1
User Manual
Fisher & Paykel DE4060M1
User Manual
-
 Fisher & Paykel DE40F56A2
User Manual
Fisher & Paykel DE40F56A2
User Manual
-
 Fisher & Paykel DE4560M1
User Manual
Fisher & Paykel DE4560M1
User Manual
-
 Fisher & Paykel DE5060G1
User Manual
Fisher & Paykel DE5060G1
User Manual
-
 Fisher & Paykel DE5060M1
User Manual
Fisher & Paykel DE5060M1
User Manual
-
 Fisher & Paykel DE50F56A2
User Manual
Fisher & Paykel DE50F56A2
User Manual
-
 Fisher & Paykel DE6060G1
User Manual
Fisher & Paykel DE6060G1
User Manual
-
 Fisher & Paykel DE6060M1
User Manual
Fisher & Paykel DE6060M1
User Manual
-
 Fisher & Paykel DE6060M2
User Manual
Fisher & Paykel DE6060M2
User Manual
-
 Fisher & Paykel DE6060P1
User Manual
Fisher & Paykel DE6060P1
User Manual
-
 Fisher & Paykel DE7060G1
User Manual
Fisher & Paykel DE7060G1
User Manual
-
 Fisher & Paykel DE7060G2
User Manual
Fisher & Paykel DE7060G2
User Manual
-
 Fisher & Paykel DE7060P1
User Manual
Fisher & Paykel DE7060P1
User Manual
-
 Fisher & Paykel DE7060P2
User Manual
Fisher & Paykel DE7060P2
User Manual
-
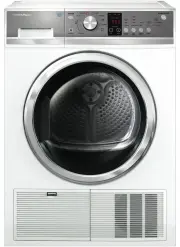
 Fisher & Paykel DE8060P1
User Manual
Fisher & Paykel DE8060P1
User Manual
-
 Fisher & Paykel DE8060P2
User Manual
Fisher & Paykel DE8060P2
User Manual
-
 Fisher & Paykel DE8060P3
User Manual
Fisher & Paykel DE8060P3
User Manual
-
 Fisher & Paykel DH8060P1
User Manual
Fisher & Paykel DH8060P1
User Manual