Everdure NBUDLPC-12 - Manuals
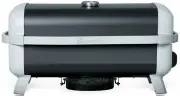
User Manual Everdure NBUDLPC-12


Summary
2 ASSEMBLY, OPERATION AND MAINTENANCE INSTRUCTIONS FOR EVERDURE NEO BUDDY GAS BARBECUE NEO BUDDY OUTDOOR BARBECUES CONTENTS SECTION PAGE NO. General Safety Instructions 3 Appliance Details 4 Gas Connections 4 Outdoor Installation Guide 5 Operating Instructions for Barbecue 6 Lighting Procedure 7 Coo...
4 APPLIANCE DETAILS Gas Type: ULPG Burner Pressure: 2.75 kPa Injector Diameter: Ø0.87 mm Heat Input: 9.5 MJ/ hr Note: The size of the injector diameter is stamped on one of the hexagon faces (e.g. ‘165’ for Ø1.65mm injector). Air is admitted at the underside of the combustion chamber (a 200mm x 20mm...
5 OUTDOOR INSTALLATION GUIDE This Appliance shall only be used in an above ground open-air situation with natural ventilation, without stagnant areas, where gas leakage and products of combustion are rapidly dispersed by wind and natural convection. This appliance must not be used indoors. Do not us...
Everdure BBQs Manuals
-
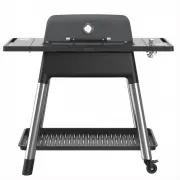 Everdure E2G1GA
User Manual
Everdure E2G1GA
User Manual
-
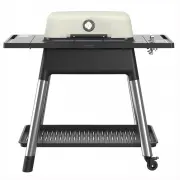 Everdure E2G1SA
User Manual
Everdure E2G1SA
User Manual
-
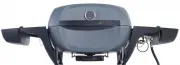 Everdure E2GLPC-10G
User Manual
Everdure E2GLPC-10G
User Manual
-
 Everdure E3G1GA
User Manual
Everdure E3G1GA
User Manual
-
 Everdure E3G1MA
User Manual
Everdure E3G1MA
User Manual
-
 Everdure E3G1OA
User Manual
Everdure E3G1OA
User Manual
-
 Everdure E3G1SA
User Manual
Everdure E3G1SA
User Manual
-
 Everdure HBCUBEG
User Manual
Everdure HBCUBEG
User Manual
-
 Everdure HBCUBEK
User Manual
Everdure HBCUBEK
User Manual
-
 Everdure HBCUBEO
User Manual
Everdure HBCUBEO
User Manual
-
 Everdure HBCUBES
User Manual
Everdure HBCUBES
User Manual
-
 Everdure SNNGC-13
User Manual
Everdure SNNGC-13
User Manual