Electrolux EWF7524CDWA - Manuals
User Manual Electrolux EWF7524CDWA


Summary
2 www.electrolux.com CONTENTS 1.1 Conditions Of Use 1.2 Child Safety 1.3 General Safety 1.4 Installation 1.5 Use 1. SAFETY INFORMATION ........................................................................................................ 4 .............................................................
4 www.electrolux.com SAFETY INFORMATION In the interest of your safety and to ensure the correct use, before installing and first using the appliance, read this user manual carefully, including its hints and warnings. This appliance is intended to be used in household and similar applications such a...
6 www.electrolux.com 1.3 General Safety It is dangerous to alter the specifica- tions or attempt to modify this product in any way.During high temperature wash program the door glass may get hot. Do not touch it!Make sure that small pets do not climb into the drum. To avoid this, please check inside...
Electrolux Washing Machines Manuals
-
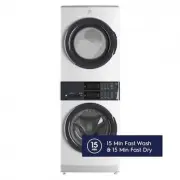
 Electrolux E4WMSTPN1
User Manual
Electrolux E4WMSTPN1
User Manual
-
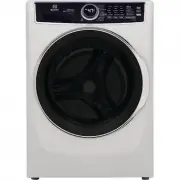
 Electrolux ELFW4222AW
User Manual
Electrolux ELFW4222AW
User Manual
-
Electrolux ELFW4222AW
Manual
-
 Electrolux ELFW7337AW
User Manual
Electrolux ELFW7337AW
User Manual
-
Electrolux ELFW7337AW
Manual
-
 Electrolux ELFW7437AG
User Manual
Electrolux ELFW7437AG
User Manual
-
 Electrolux ELFW7437AW
User Manual
Electrolux ELFW7437AW
User Manual
-
Electrolux ELFW7437AW
Manual
-
 Electrolux ELFW7537AT
User Manual
Electrolux ELFW7537AT
User Manual
-
Electrolux ELFW7537AT
Installation Manual
-
Electrolux ELFW7537AT
Manual
-
 Electrolux ELFW7537AW
User Manual
Electrolux ELFW7537AW
User Manual
-
Electrolux ELFW7537AW
Manual
-
 Electrolux ELFW7637AT
User Manual
Electrolux ELFW7637AT
User Manual
-
Electrolux ELFW7637AT
Manual
-
 Electrolux ELFW7637AW
User Manual
Electrolux ELFW7637AW
User Manual
-
Electrolux ELFW7637AW
Manual
-
 Electrolux ELTE7300AW
User Manual
Electrolux ELTE7300AW
User Manual
-
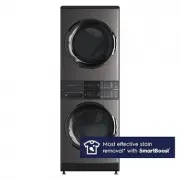 Electrolux ELTE7600AT
User Manual
Electrolux ELTE7600AT
User Manual
-
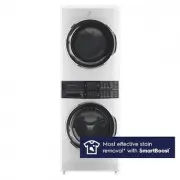 Electrolux ELTE7600AW
User Manual
Electrolux ELTE7600AW
User Manual